Tricopter – part 2
In part one of this build log I wrote about most mechanical things you should do to build a tricopter, also on addenium I wrote about my errors in making first part of tricopter (you should read it!).
Now, it’s time to finish it.
In spite of my feeling that I did most of the work, part two took more time than first.
Preparing and connecting ESCs
I bought for this tricopter cheapest ESCs available 🙂 : Hobbyking SS Series 15-18A
If you have some electronic skills you should flash it with SimonK dedicated firmware. If not, I recommend you just use a little more expensive Turnigy Multistar ESCs.
Flashing my ESCs with SimonK I described in my previous blog post.
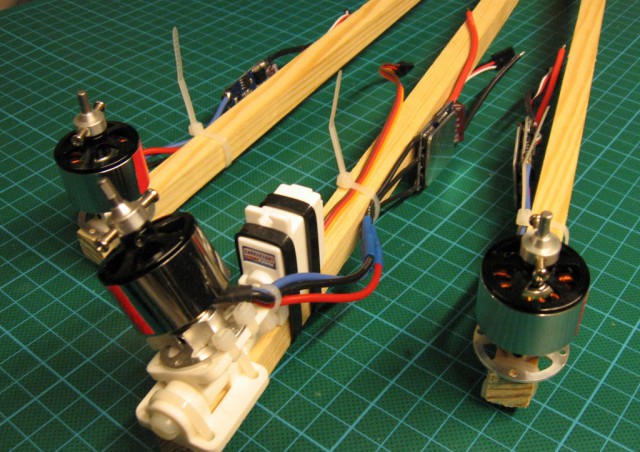
On arms I connected motors directly to ESCs removing original short cables.
On tail I soldered motor cables to ESC’s cables because this part moves and longer cables are less stressed and less prone to wear out. Before fastening cable for tail, make sure that it’s loose in all sway/servo position. Also don’t forget to fasten cables to yaw sway – cables should not move directly near motor.
Balancing motors and props
Having ESCs connected to motors and yet separately is good opportunity to balance motors and props.
At first, simple servo tester should be handy (or you can use transmitter and receiver for this, but it makes things more complicated 🙂 ).
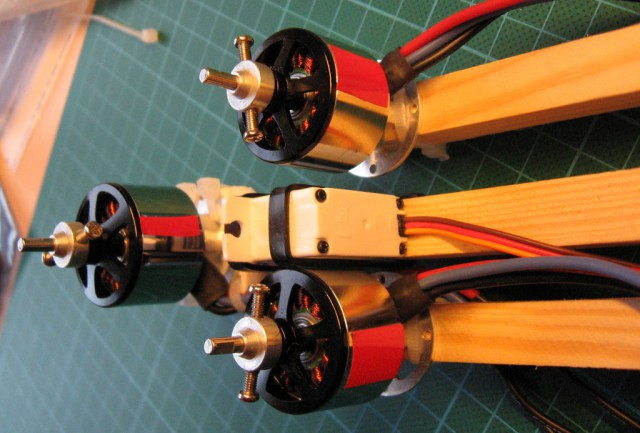
First, balance motors with small piece of electric tape or zip-tie :-). There are many films on youtube about how to do it, even with laser as on FliteTest video. Personally, I use my hand to feel vibrations. I used earlier Android phone with Vibration Monitoring application, but I feel that my hand is more sensitive 🙂
When you know on which side you schould put some weight, put sticker there and start balancing procedure again until you’ll be satisfied (or bored) 🙂
There are my motors with stickers:
Second, choose the best balanced motor and use it for balancing propellers. It’s really needed.
For pointing how much weight I should put to one blade of prop, I use the same electric tape as for motors. But for making it permanent I use Scotch Magic Tape.
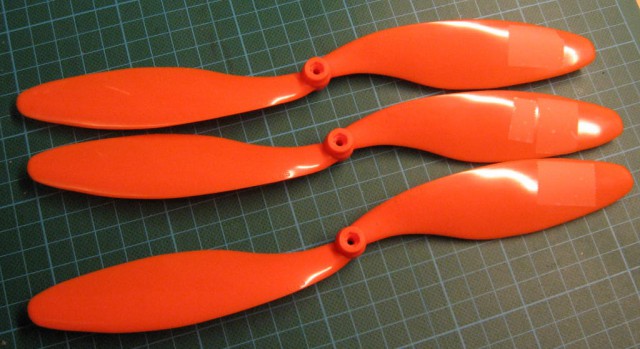
Speaking of props, I use GWS 10×4.7 genuine props from local hobby store. At start I used GWS RD-1047 from HobbyKing (no longer available but the same as from local store except colour), then I bought also 1047R Right Hand Rotation which I think was a mistake – these props are very flexible and I have mixed feeling about them. I thought that having one prop with opposite direction is a good idea (tail motor will be more staight), but not with these props 🙁
Bottom plate (camera and battery mount)
I had a ready made part from glass fiber laminate in appropriate dimensions, to I just used it – as you can see, there are some strange holes because of that.
The thing I had to make, there are 6 small half holes on sides of this plate. Four are for mounting zip-ties, two for camera.
On the picture there are also pieces of rubber used for connection between bottom plate and main frame.

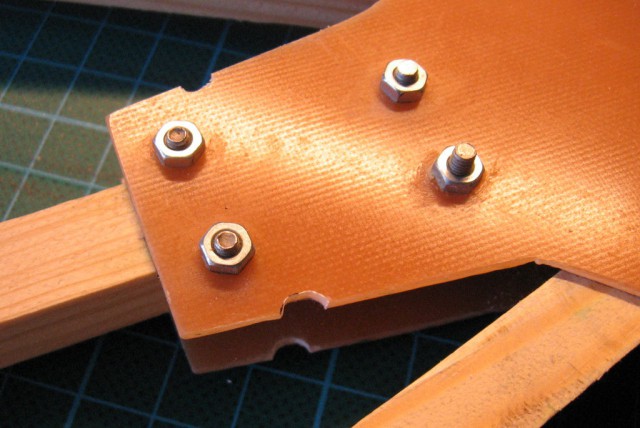
Similar side holes I made on center plate:
It’s time to assemble bottom plate to the rest of Tricopter:
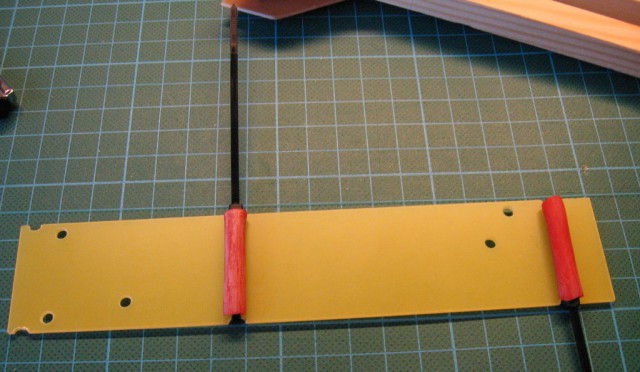
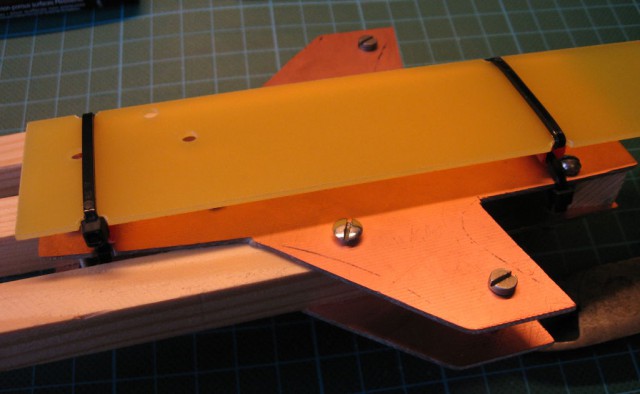
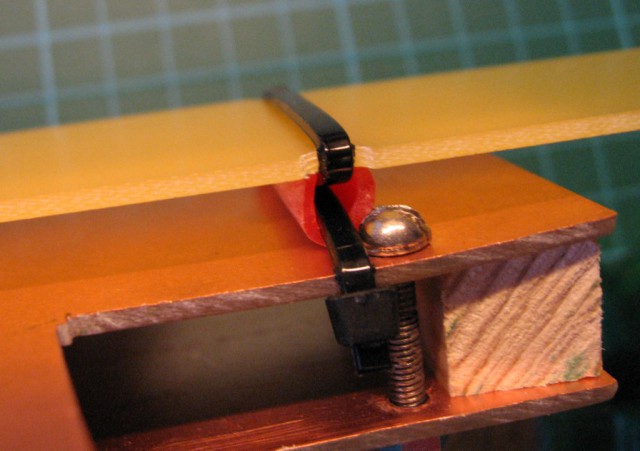
Don’t use 2.5mm zip-ties for front connection as on above pictures – there are not strong enought to withstand hard landing. Use 4.6mm for good and strong connection.
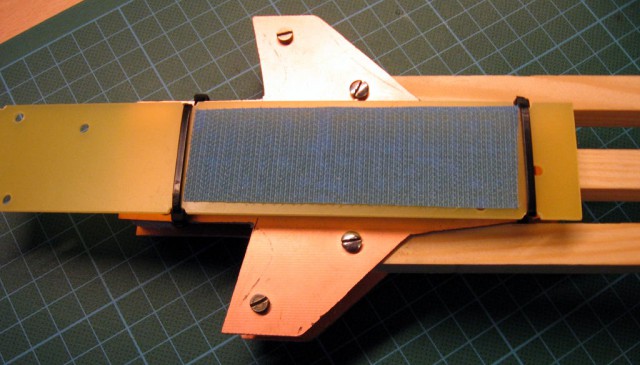
I put velcro on bottom plate for good good mechanical battery connection:
Power cables
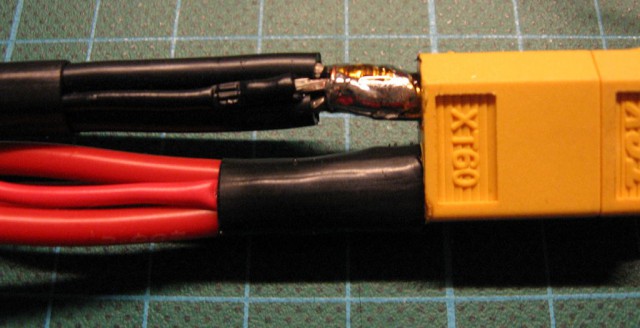
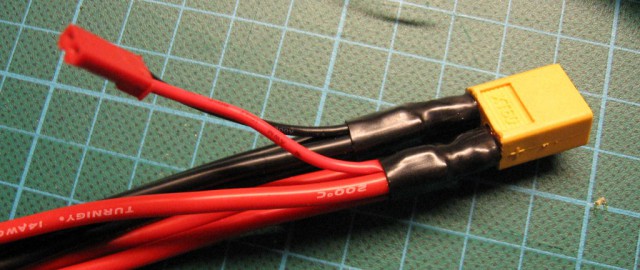
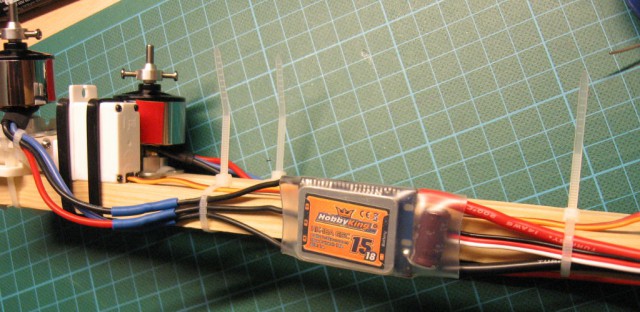
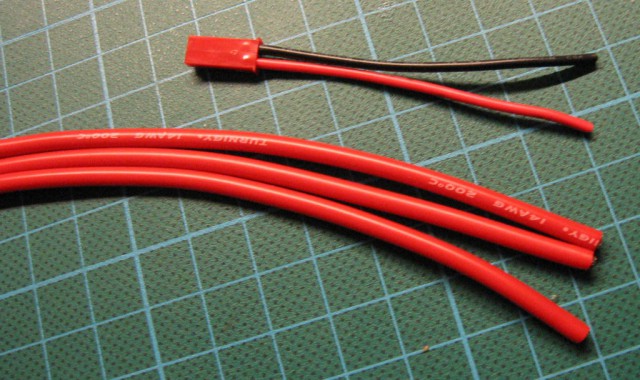
Having removed shrink-wrap from ESC, I also removed short stock cables and soldered longer ones using Turnigy Pure-Silicone Wire 14AWG (RED and BLACK). 2 meters from each of them should be enough. Then I put new shrink-wrap on ESCs:
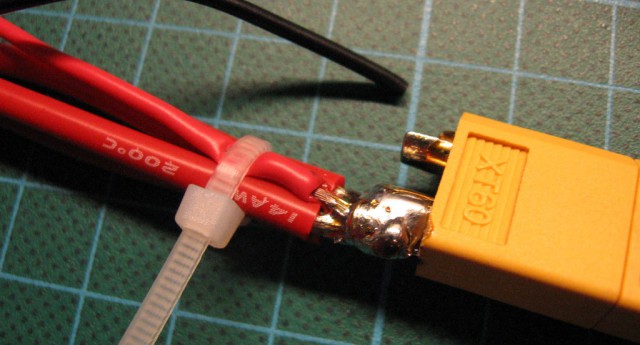
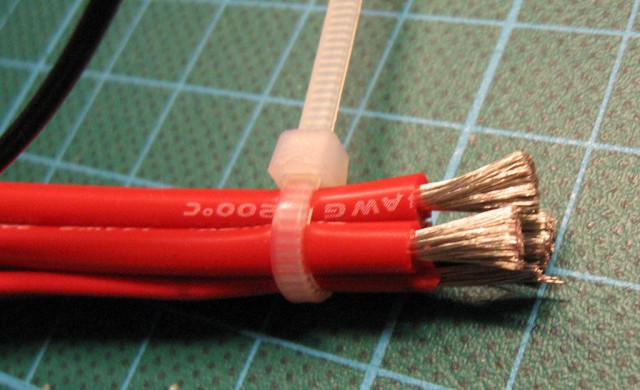
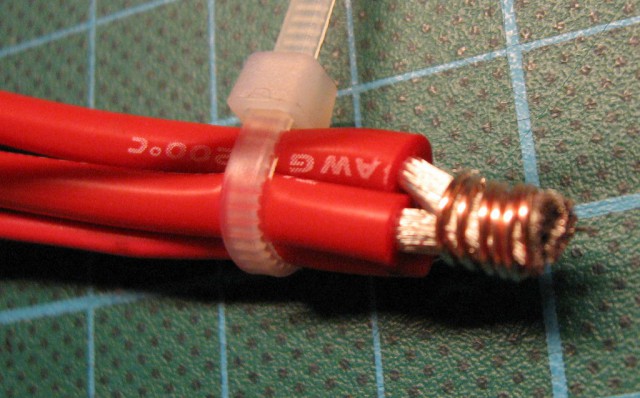
Soldering other end of all cables is little tricky. As usual, David’s idea is great also for this problem: put all ends together and wrap it up using thin wire. I also get cables together using one zip-tie for even easier soldering:
Mounting FC (flight controller)
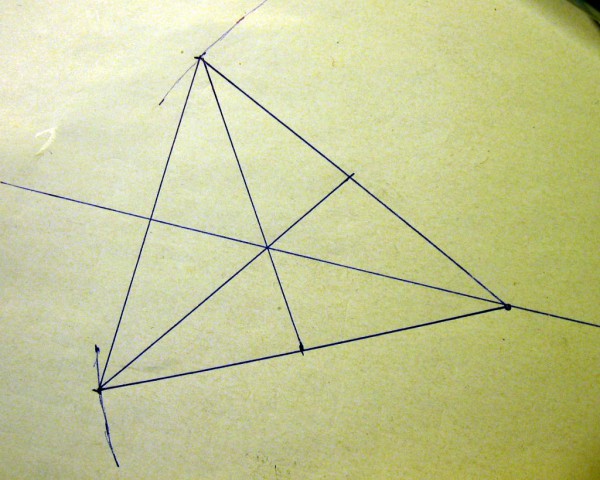
Somehow I made tricopter with different distance between left-rigth and front-rear motors. FC should be placed exactly on center of gravity (CG), so I had to calculate it.
The easiest way of calculation CG of triangle is just draw it and draw lines between each apex and middle of opposite side. The crossing of each of these lines is CG:
And this is a place when my own adventure begins 🙂
David is using KK2.0 FC board but this board has only gyroscopes and accelerometers, so I choose cheaper one with more sensors (obvious choice for me:-) ): MultiWii 328P Flight Controller w/FTDI & DSM2 Port. More info about this board I wrote in my earlier post.
First move is to secure barometer (altimeter). This sensor is sensitive to light and also should be separated from wind for accurate readings, so I put piece of sponge on it using two sided adhesive tape:
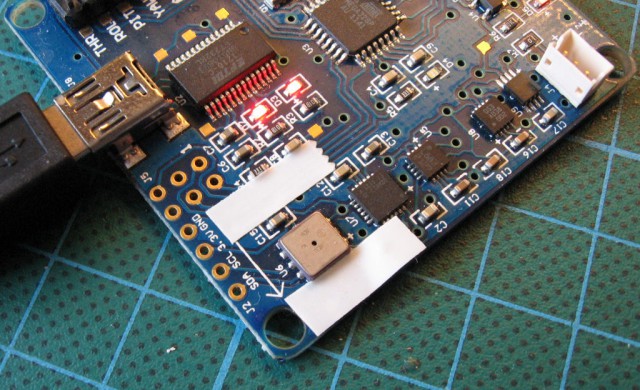
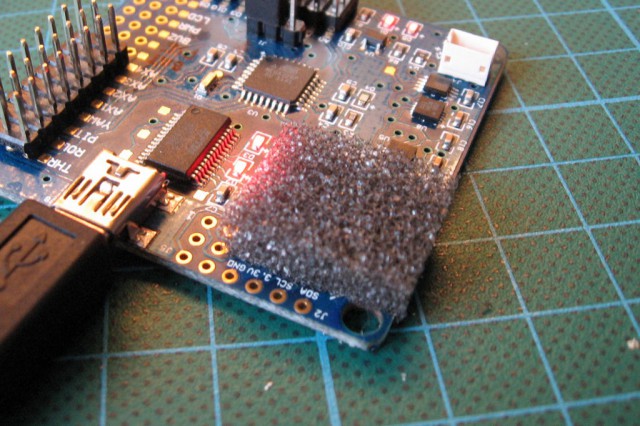
I prepared 3 anti-vibration ‘legs’ for mounting FC to center plate:
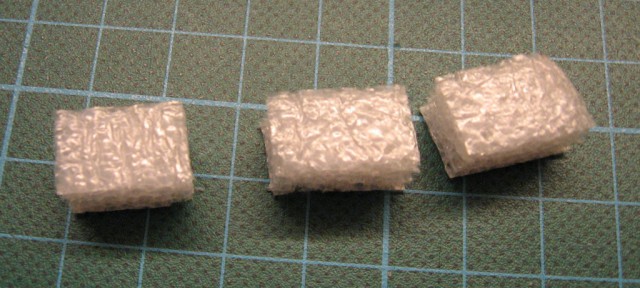
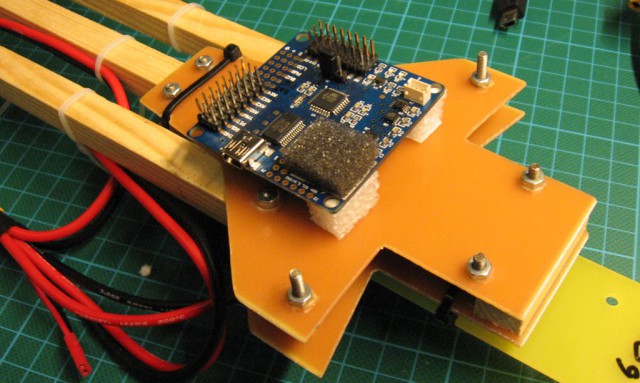
And mounted all together using strong two-sided adhesive tape:
Connecting FC and ESCs
Each ESC have it’s own BEC. Connecting it all together could be not very good idea, expecially with such long cables.
So, tail ESC use it’s BEC only for powering servo. I made custom connector from 2×3 pin header, connecting power lines (+/-) from ESC to servo and connect only signal wires to FC. Without ground (-) to avoid ground loop!
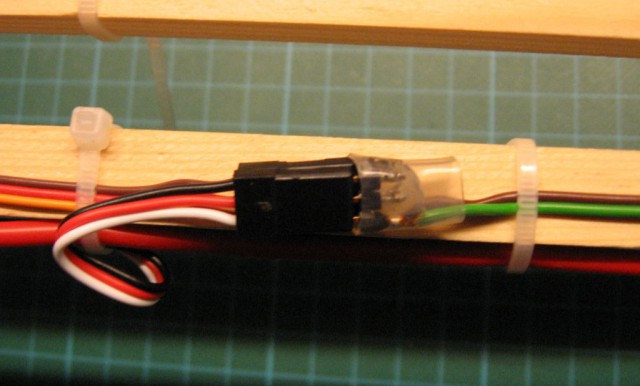
Each connector must be secured somehow, I choose easiest way – just use electric isolation tape:
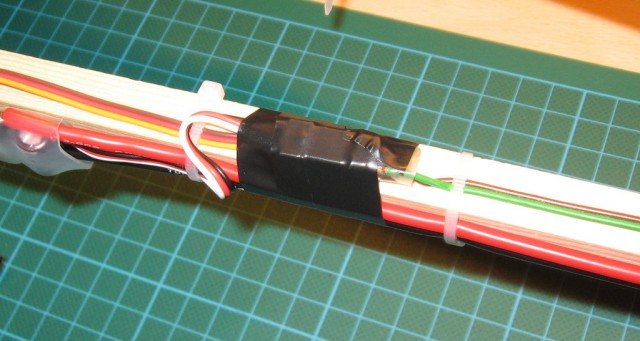
On the right arm, I used just 30CM Servo Lead Extention to connect ESC to FC, so this ESC powers FC.
On tle left arm I used also servo extension, but I cut off power wires (+,-) from it:
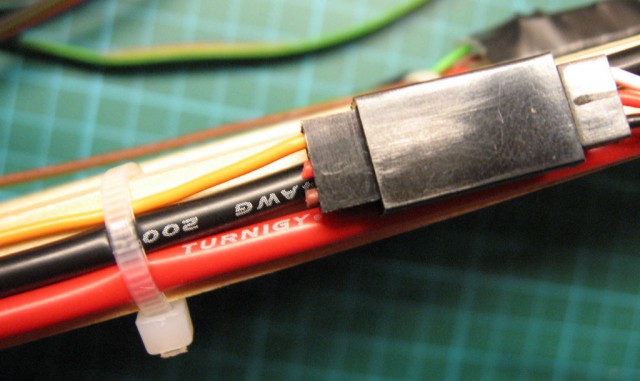
Then I connected it to FC according to Multiwii documentation and table on my post about this FC:
- tail motor should be connected to D9 in Arduino, this is D9 or BUZ in this FC
- tail servo should be connected to D3 in Arduino, and this is AX4 on this FC
- left motor should be connected to D11 (the same on Arduino and this FC)
- right motor should be connected to D10 (also the same)
- signal from receiver I connected to THR (D2 on Arduino). I could make only one connection because I use receiver with CPPM output (FrSky D4R-II)
All connections done:
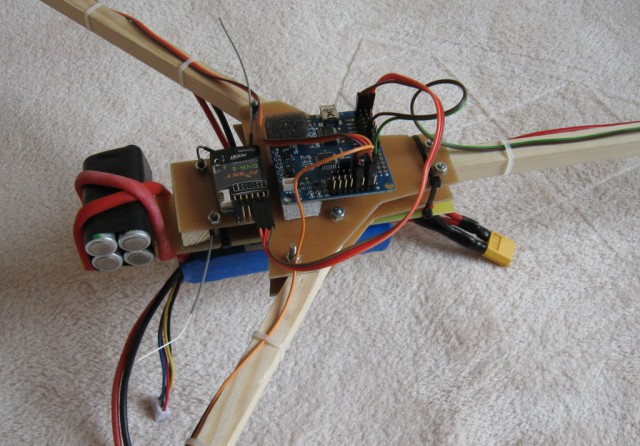
In above picture there are 4 AA batteries as ballast instead of GoPro camera – it’s safer for first tests 🙂
Legs
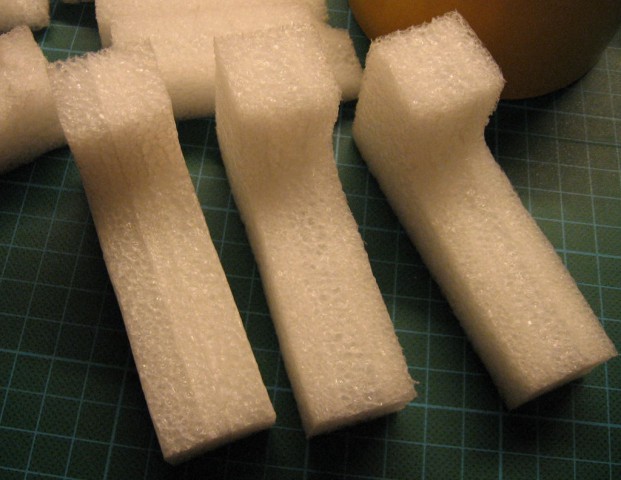
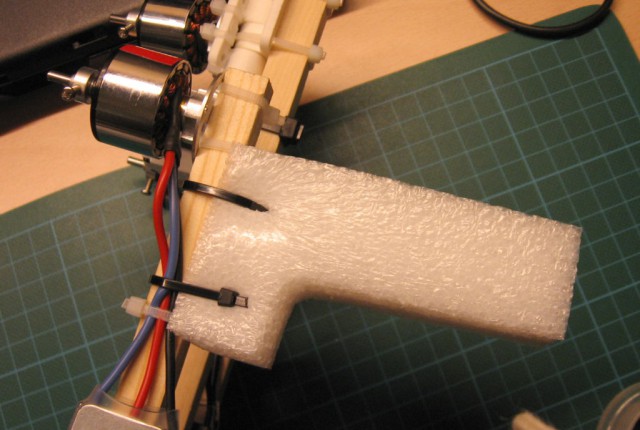
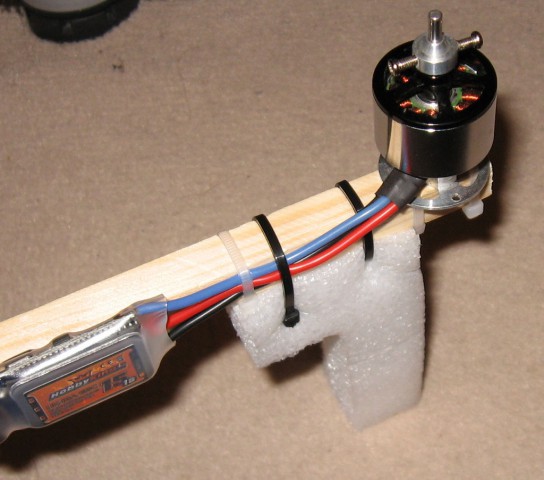
I needed some shock absorbing legs for learning how to fly Tricopter, so I made it from some foam:
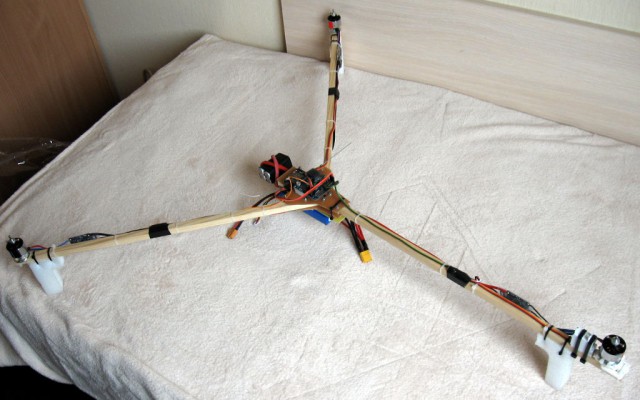
Ready for first flight
More to come…
RTL2832U spectrum analyzer – part 2
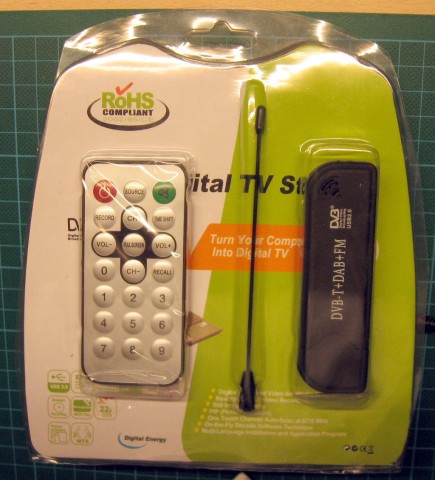
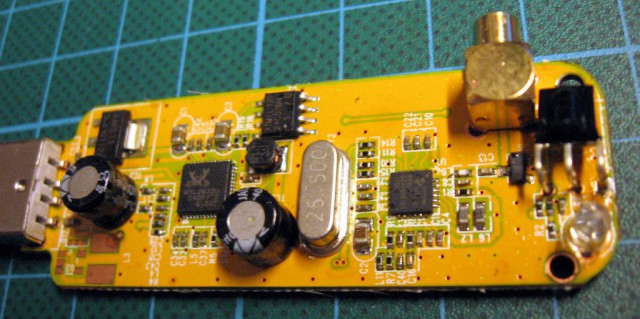
In previous part i wrote about LifeViev DVB-T usb stick based on RTL2832U and Fitipower FC0013 tuner.
In spite of information on http://sdr.osmocom.org/trac/wiki/rtl-sdr site, FC0013 in this stick doesn’t go up to 1.1GHz :-(. In fact, from my experience it could do up to somewhere little above 900MHz.
New stick with R820T tuner
As I want to measure also my FPV equipment, with TX running at 1.2GHz, I bought another DVB-T usb stick based on new tuner: Rafael Micro R820T.
It’s very popular and cheap on eBay (about $10), but it haven’t particular name.
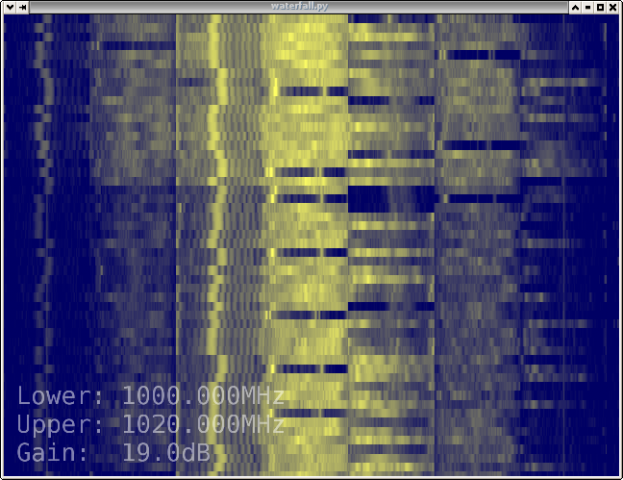
As I wrote above, Lifeview with FC0013 can’t measure my video TX at 1.010GHz (but this should be within it’s range):
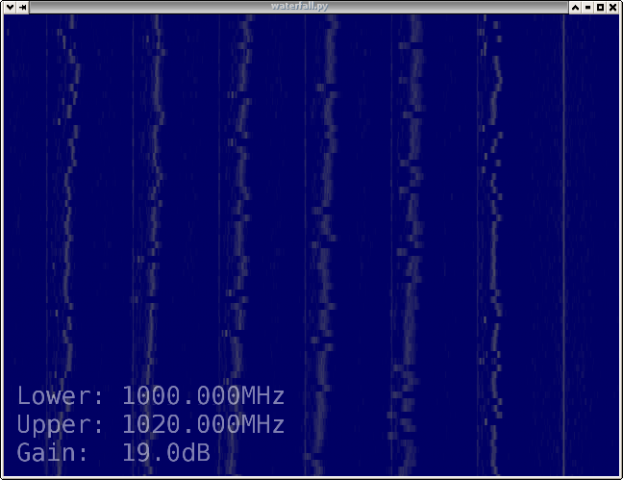
But the same on dvb-t stick with R820T looks fine:
SDR#
In previous part I promised to make some effort and test also SDR# (aka SDRsharp) software.
Compiling and installing Mono appeared quite easy.
Installing PortAudio library also went flawlessly.
In howto there are described 2 ways of installing SDR#: using MonoDevelop and from command line. First option was a ‘dependency disaster’ – so I gave up. Then I tried second option. It didn’t work either 🙁
After some experiments, reading manuals it turned out that default option tried to compile native code for my 64bit system and this part of SDR# is simply broken.
When I forced to compile to 32bit binary (luckily I have multilib installed), it finished without error.
Magic compile command:
After some clicking, double clicking, dragging etc. I could also share my impressions about SDR#.
Pros:
- it looks cute
- everything is clickable, frequency is easy changeable just by mouse roll – typical Windows application 🙂
- it could demodulate on the fly radio transmissions – just point at spike in histogram, chose modulation type (am, fm, ssb and more), drag mouse to set bandwidth and you could hear what’s in the air
- shows spectrum and waterfall simultaneously
Cons:
- require a lot of cpu, my 2×1.6GHz C2D wasn’t fast enough for smooth running:-(
- shown bandwidth is limited by sampling rate, so viewed window is maximum 2MHz wide 🙁
- not all sampling rates works. 2048kS/s works, but setting rate at maximum 2.4MS/s ends with error ‘paBadIODeviceCombination‘
- when cpu is overloaded, some samples are lost and it dosn’t show what’s really is going on (on above picture it should be almost continous line), so it’s unreliabe for me
It looks like for listening to the radio it’s quite good and powerful tool. But as measuring and testing tool, it’s so heavy and limited.
OrangeRx OpenLRS
Of course I couldn’t resist to check how my ‘just arrived’ OrangeRx OpenLRS modules work 🙂
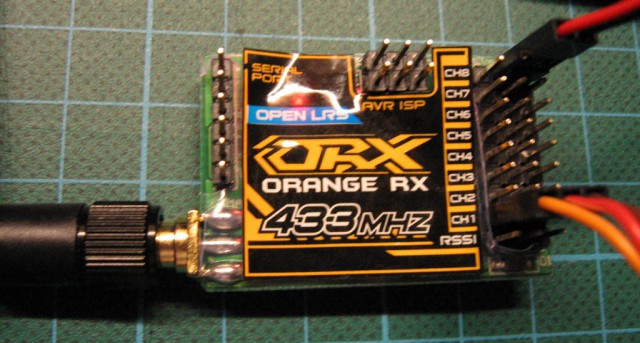
I bought 2 receivers as each one could also act as transmitter – there should be just different firmware flashed into it.
I downloaded OpenLSRng open firmware, changed hardware rx and tx to 3 for OrangeRx, compiled 2 versions (one for rx, and second for rx), and uploaded using simple USBASP interface (it must support 3.3V!).
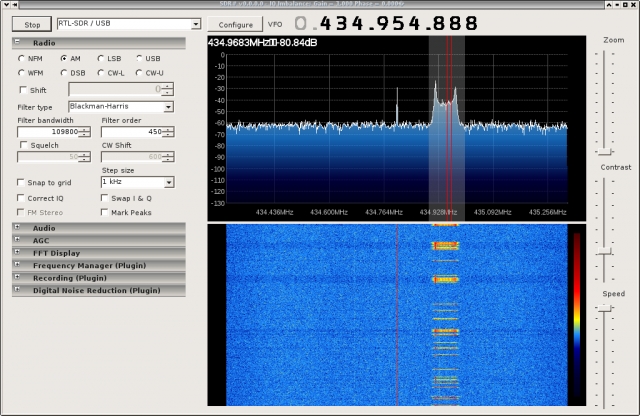
OpenLRS use frequency hopping to be more resistant to interferences. And it clearly shows in following screenshot from rtlsdr-watefall:
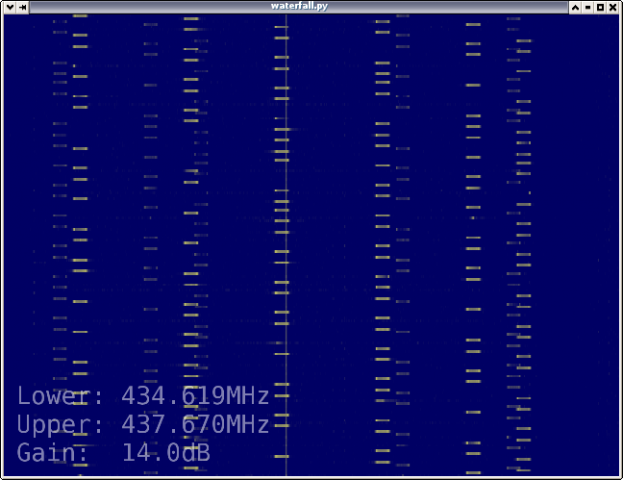
‘Ghosts’ on this screenshot are most probably because of tuner clipping. Measurements were done without antenna connected to dvb-t stick, but on quite large gain, so 100mW transmitter could be easily a reason for it.
That’s all for now 🙂
Tricopter part 1.5 :-)
Current status of my Tricopter is: flying 🙂
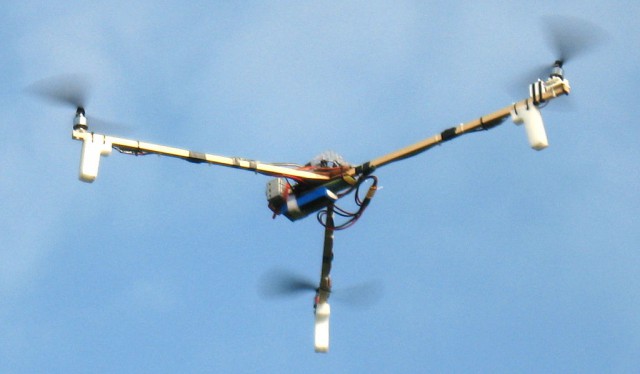
I know that i should finish my build log, but I think that telling about mistakes I made in first part is more important for now.
Failures so far:
- I didn’t glue motors’ cables – it cost me one motor during a crash. Glue cables to motors just like in David’s blog!
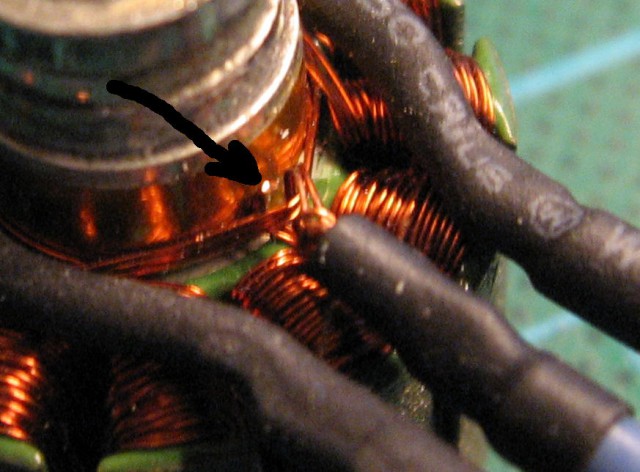
- I used thread locker for securing screws in prop savers, but I didn’t glue prop saver to motor shaft. And this is a result:
- I didn’t secure motor mount screws – that was one of the causes of above crash. Use locker for screws and also between motor and mount!
- Thought that prop savers are good 🙁 I crashed 3 times because of that. Two times because prop saver loose itself on motor shaft and flew away with propeller, one time because rubber band broke. Don’t use prop savers for tricopter – it makes only troubles!
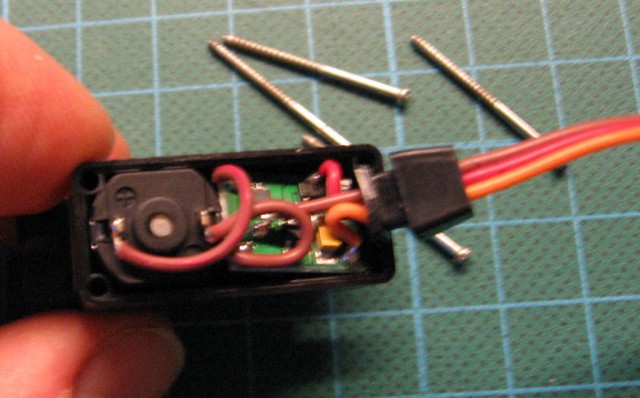
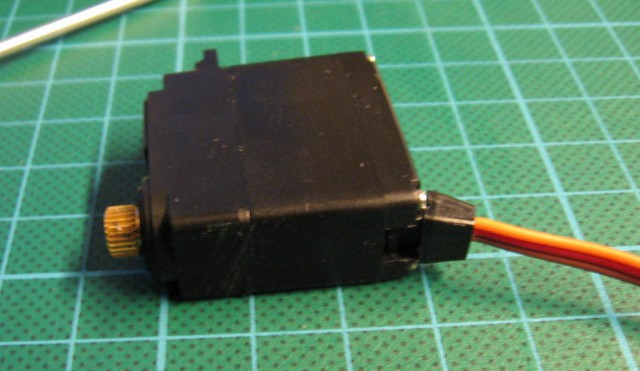
- HK15148B Digital Servo was also mistake – it has a free-play that causes bad oscilations of yaw mechanism. I changed it to Corona DS238MG and now everything is fine.
Modification of Corona servo is pretty the same as for HK15148B:
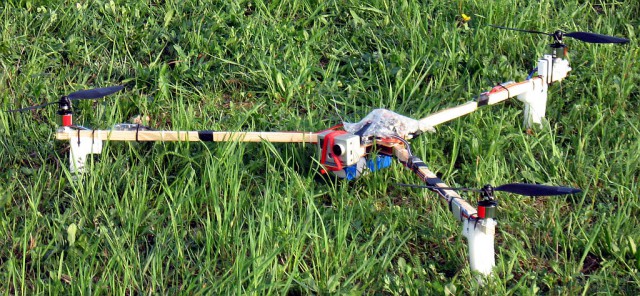
At the end another nice picture of Tricopter 🙂
I think that part two of build log will be available soon 🙂
UPDATE 2013.08.30: Part two of build log is available 🙂
Removing some query parts from referers in AWStats
For checking what’s going on my blog and other sites I use AWStats – very popular and powerful web logs analyzer.
Because I have many hits from forums, many referer links contains session ids. It pollutes ‘Links from an external page’ section and make very long list of duplicated urls.
AWStats has a feature to remove some query parameters but I discovered (and it’s quite clear documented) that it works only for analyzed site links, not for referers 🙁
This long list made me angry every time I tried to look at it, so today I told myself: “Enough! It’s time to do something with it!”
And now I have new option available: URLReferrerWithQueryWithoutFollowingParameters 🙂
Patch: awstats-URLReferrerWithQueryWithoutFollowingParameters.diff
New option works exactly the same way as URLWithQueryWithoutFollowingParameters but removes some parts of referer.
I tested it against AWStats 7.1 and 7.1.1 – it works.
And as usual: use it at your own risk 🙂

