
Parts
There are few parts required for LCD88:
- Processor
- LCD display
- Keyboard
- Power source
- Sticks and switches (from old tramsmitter)
My first version of LCD88 have processor, lcd and power source on one custom pcb board, but I’ll focus on ready modules.
Processor
- Project uses Atmega88 (soon will be discontinued), Atmega168 or Atmega328 AVR processor.
- Code supports frequency up to 16MHz (sorry, full 20MHz is not supported right now)
- Supply voltage: 3-5V, it depnds on you.
- Processor should have crystal oscillator
- All pins should be availabe, if you use cpu in DIP packaging, keep in mind that you have only 6 analog inputs instead of 8
Basically, typical Arduino Pro Mini with Atmega328 at 16MHz is best choice for that.
LCD Display
Supported displays:
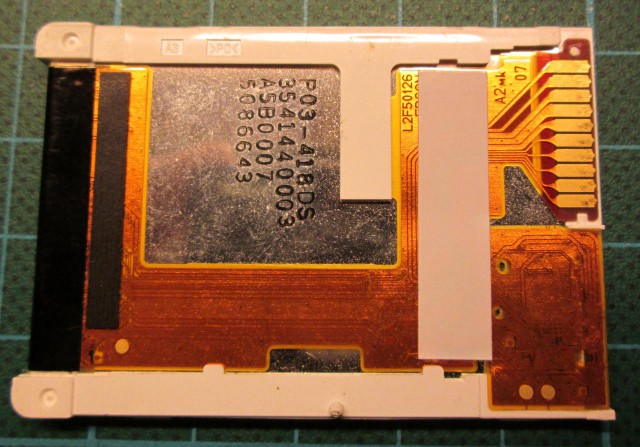
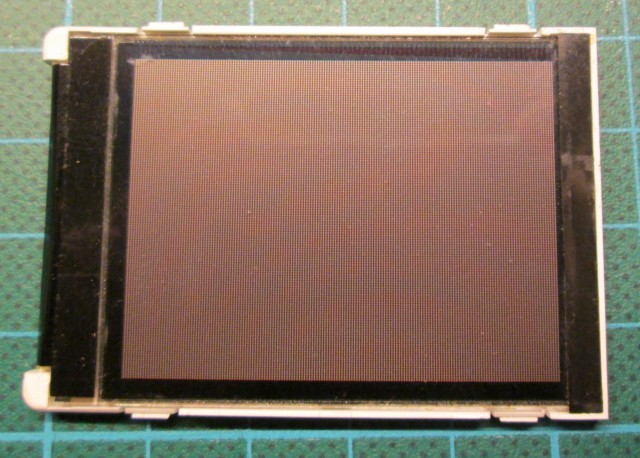
- Siemens S65 L2F50
- resolution: 176×132
- chipset: L2F50
- power supply: 3.0V
- logic level: 3.0V
- backlit: 10.5V
- pictures:
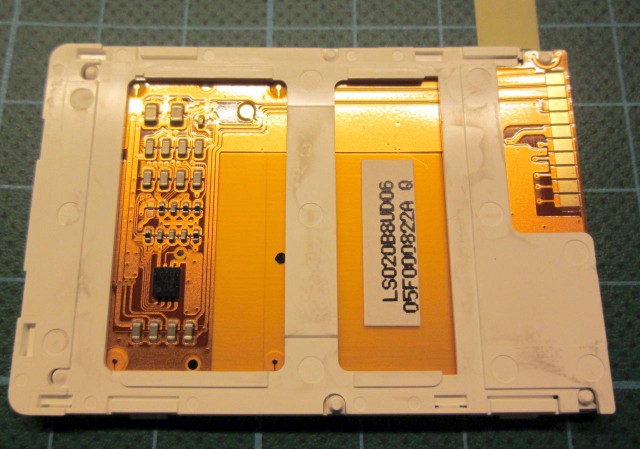
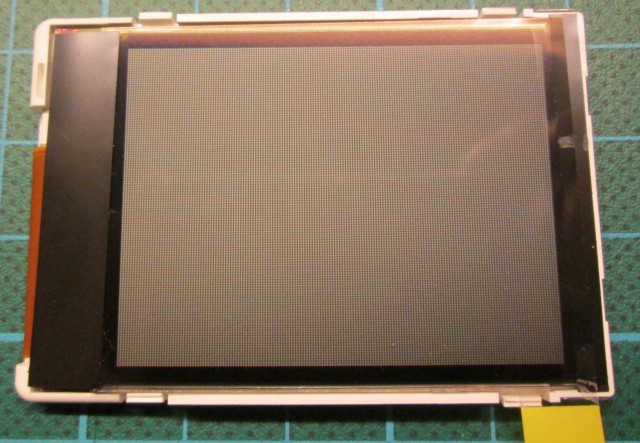
- Siemens S65 LS020
- resolution: 176×132
- chipset: LS020
- power supply: 3.0V
- logic level: 3.0V
- backlit: 10.5V
- pictures:
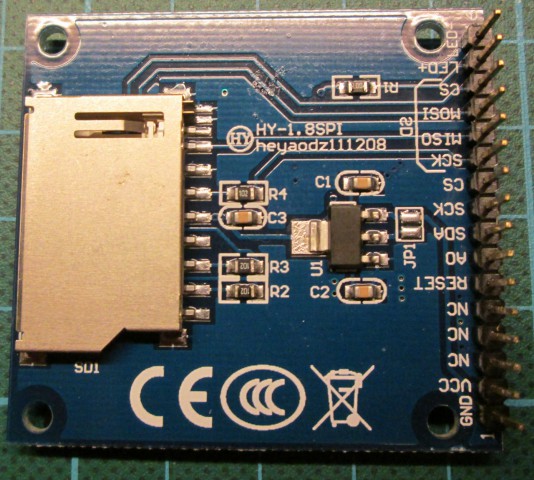
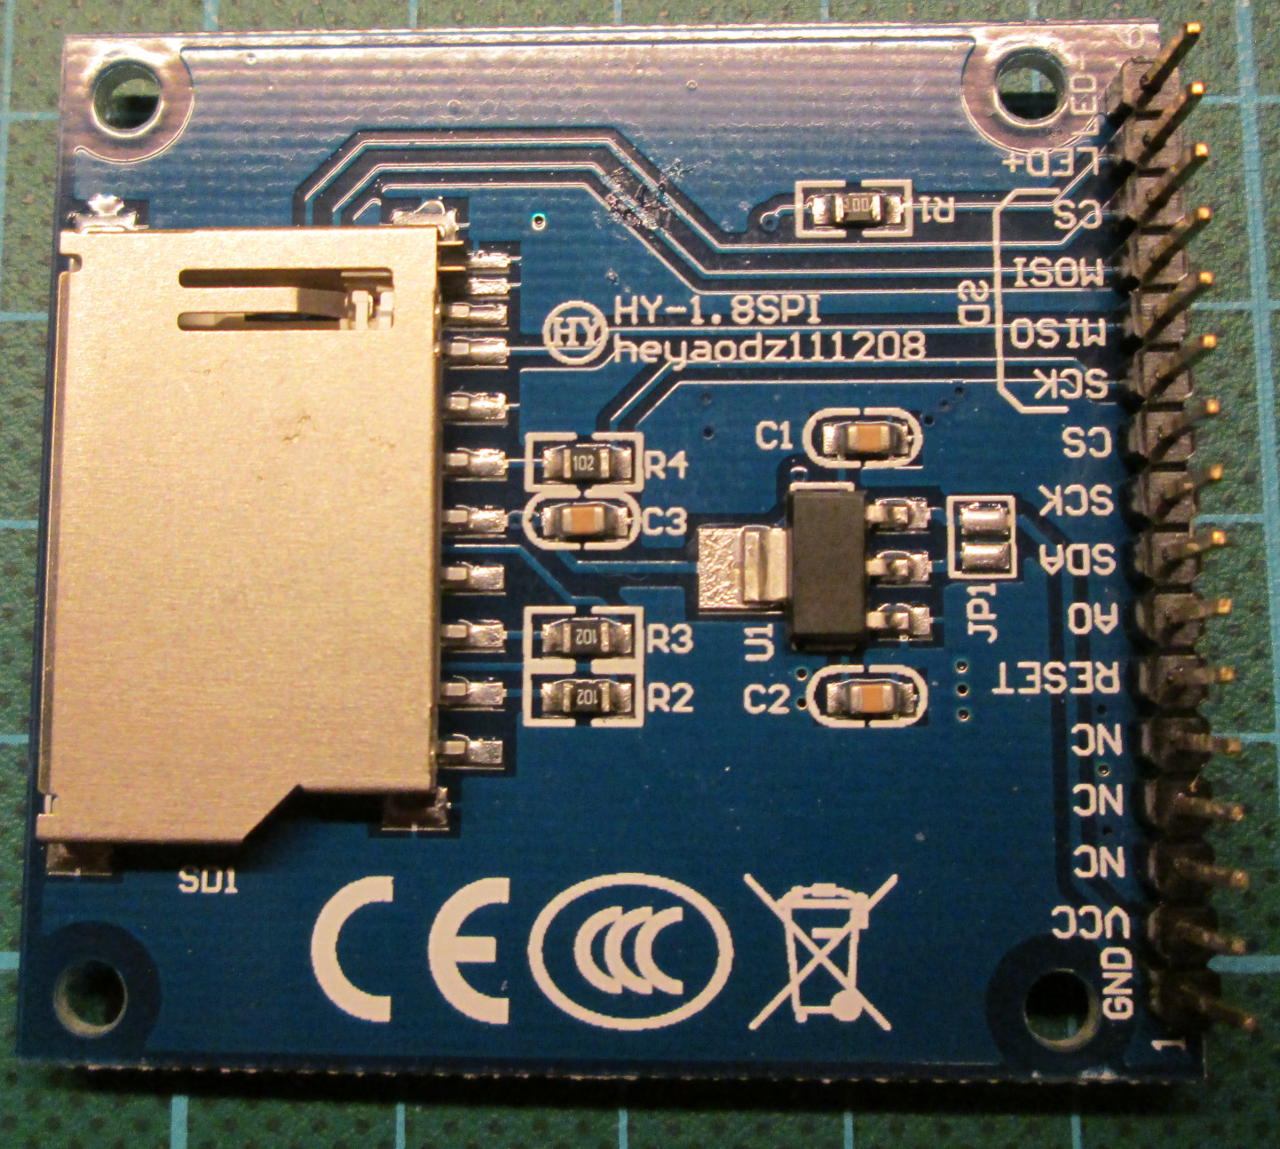
- HY-1.8 SPI (blue)
- resolution: 160×128
- chipset: ST7735
- power supply: 3.3V or 5.0V
- logic level: 3.3V
- backlit: 3.5V
- pictures:

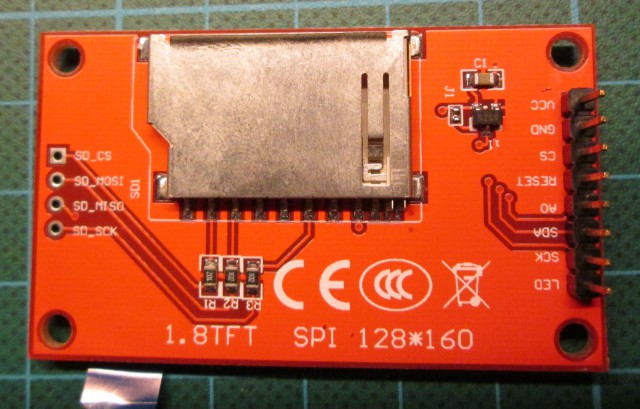
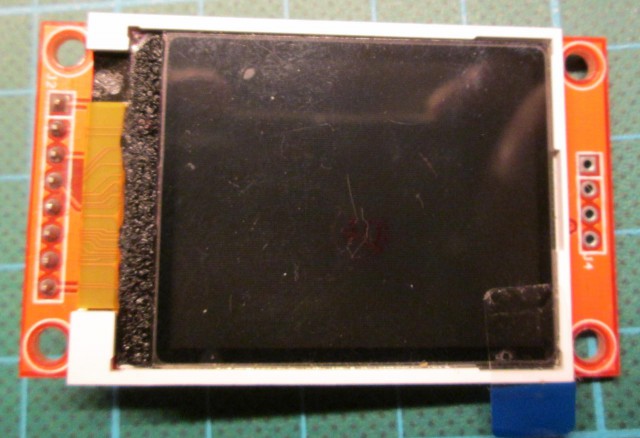
- 1.8TFT SPI (red)
- resolution: 160×128
- chipset: ST7735
- power supply: 3.3V or 5.0V
- logic level: 3.3V
- backlit: 3.5V
- pictures:
- Arduino GLCD
- resolution: 160×128
- chipset: ST7735
- power supply: 5.0V
- logic level: 5.0V
- backlit: 5.0V
- more here


Connecting processor and display
TODO 🙂
Keyboard
This is only part you should do yourself.
Parts needed:
- 6x tact switch
- 6x 1N4148 diode
- 3x resitor 2.2k (smd 0805 if you want to use my pcb design)
- 4 pins header
Schematic diagram:

PCB:
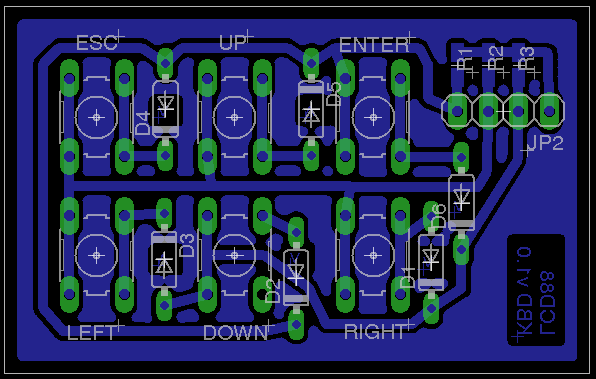
Eagle files could be found at https://github.com/majekw/lcd88/tree/master/pcb
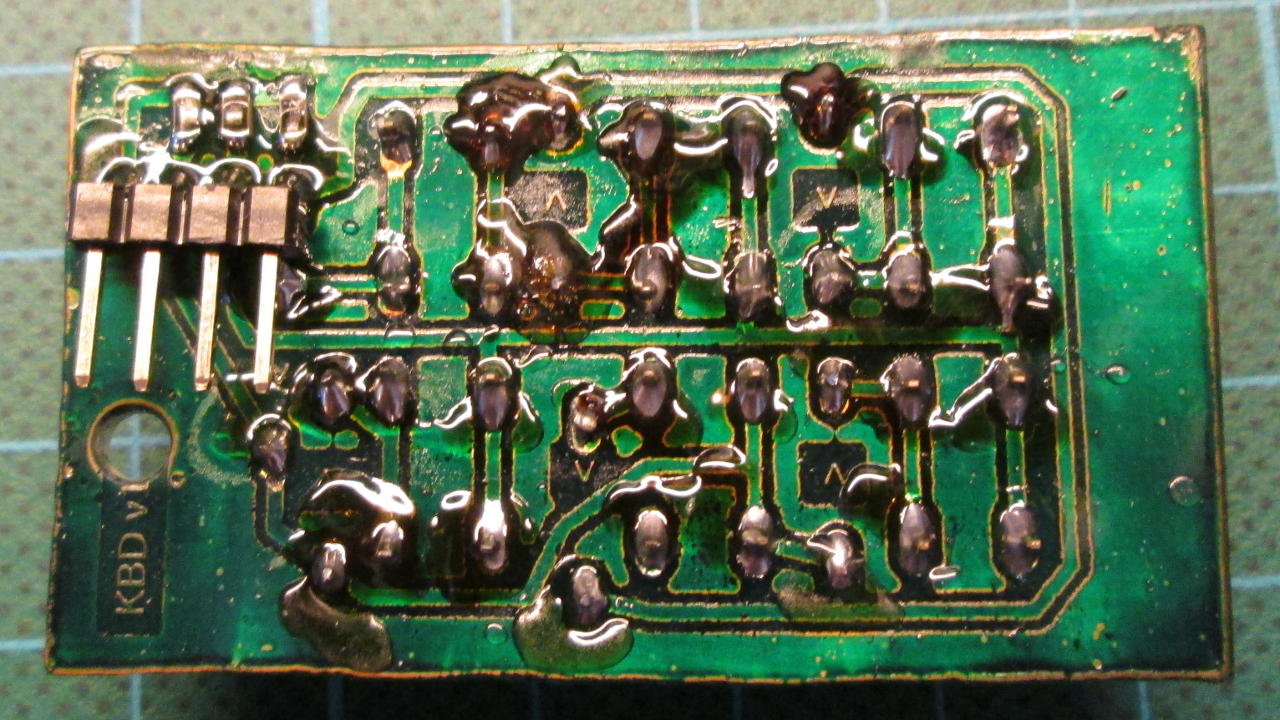
That’s how it looks like on home-made pcb:

Power source
TODO 🙂
Comments
LCD88 – hardware — No Comments
HTML tags allowed in your comment: <a href="" title=""> <abbr title=""> <acronym title=""> <b> <blockquote cite=""> <cite> <code> <del datetime=""> <em> <i> <q cite=""> <s> <strike> <strong>