
New 3D printer – vn-corexy
How vn-corexy was born
A little more than a year ago I bought my first 3D printer: EZT-3D T1. I was looking for something which could print tall objects, occupy small space on my desk and of course be a cheap one 🙂 Delta printer was the only one that needed not much horizontal space. Vertical dimension of delta is another story, but I didn’t care about it. So, I bought Anycubic Kossel, but it turned out that seller didn’t control his own stock and I’ve got nothing except my money back. Then I bought this EZT-3D T1 – cheapest printer with intention to upgrade it later. Long story short: easiest way to upgrade this printer is to build or buy new one.
During this year I started collecting parts for new printer: bigger and better delta. But recently 2 things happened: I got rid of one monitor from my desk and get more room for something, the second thing was that I found that there are CoreXY machines. Analyzing theirs mechanics I found that it could be possible to build something with much larger build volume than my current printer and still fit on my new spare space on the desk. I have 35cm of width available, maybe I could add few more, but not much more. I started to check already available products and projects, but I found nothing that could fit in less than 40cm of width and have decent build volume size. I had no other option than to start designing it myself. That way Very Narrow CoreXY 3D printer aka vn-corexy was born:-)
The printer
My basic assumptions for designing this machine was:
- reduce width to minimum, even at some cost in other dimensions (because of my space constraints), but not at any cost 🙂
- make it more compact compared to other available designs, but a little less universal, for example by limiting printing head size
- build volume about 300x300x300mm (because I need more than my current printer)
- CoreXY mechanics (because I think it’s most compact and could be as fast as delta)
- use linear rails on X and Y axis (because I already got them for my next delta)
- use one motor for Z axis (because I already have control board that can’t handle 3)
- OpenSCAD used for designing (because it’s free, available on all platforms and I was already using it for many smaller projects before)
- it should be open source, so I created repository on Github: https://github.com/majekw/vn-corexy , and because OpenSCAD files are just ‘code’, version control is really helpful in tracking changes
- use as many parts as possible from what I already bought for new delta (linear rails, motors, BMG extruder, belts, pulleys, electronics etc.)
- custom parts should be easy printable on any crappy 3d printer, without supports if possible
First rendering of vn-corexy:
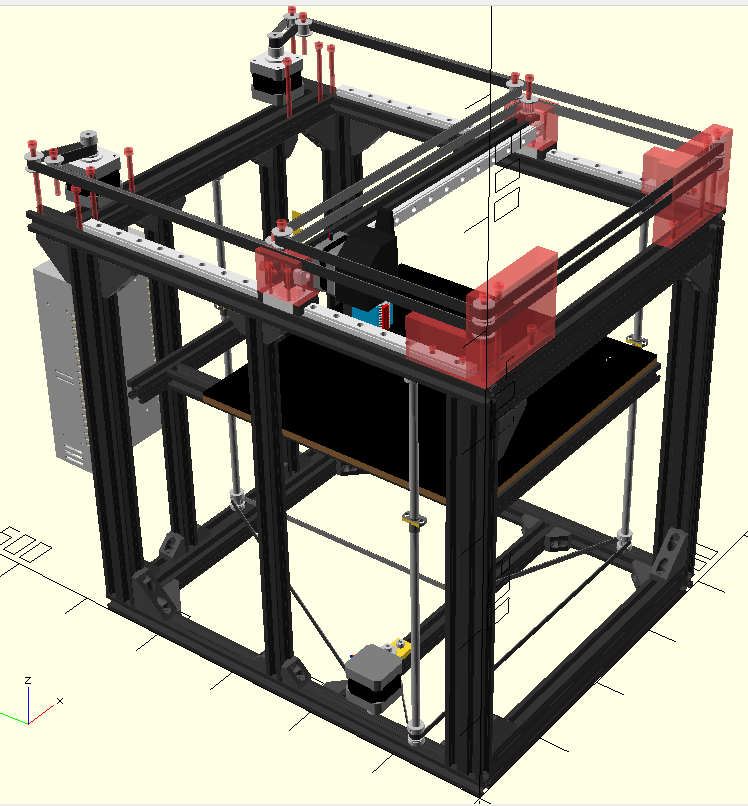
At this stage frame dimensions was set and axis drive was sketched. I used it to order frame parts (extrusion profiles 20×20 and 20×40 mm) and estimate needed screws (only frame needs about 120 screws for mounting!)
Almost final dimensions:
- width: 390 mm
- depth: 520 mm
- height: ~530 mm (not final, can be changed, but no more than 570 mm)
It’s work in progress, but I’m building and designing at the same time to make progress also in real hardware.
More to come 🙂
Classic keyboard for Lenovo X230
Why changing keyboard?
Long time ago I was fan of Dell, but at some point in time where panoramic displays started appearing in laptops, Dell started to lag behind. Size of laptops also increased, so 14″ were no longer small one. Meantime resolution also dropped, so I could only dream about what I had earlier: small 14″ compact laptop with display resolution 1600×1200 and possibility to insert 2 batteries. About the same time I’ve changed company I worked for and I’ve got brand new tiny Lenovo ThinkPad X61s 12″ with 4:3 display (resolution wasn’t great, but I got used to it). I also needed to commute 1-2 times a week with it, so I started to love it for it’s size and weight 🙂 When X61s got old (and slow for my then-current requirements) I bought for myself next in line at still reasonable price: ThinkPad X201. After about 2 years prices of X220 and X230 dropped to level of X201, so I made another switch. This time to X220, not to X230 as former have still classic keyboard with lot of useful keys in right place.

Meantime, I noted that X220 and X230 are almost the same laptops. Main difference is cpu and of course keyboard with different layout. I also found some X220i with newer keyboard, so I started thinking that maybe there is a possibility to replace keyboard between models. After some digging I found a discussion on reddit that it is really possible, but not as straightforward as I expected. It involved a bios modification and direct programming of memory chip. I ordered from China simple programmer based on CH340 chip and I forgot about it for few months.
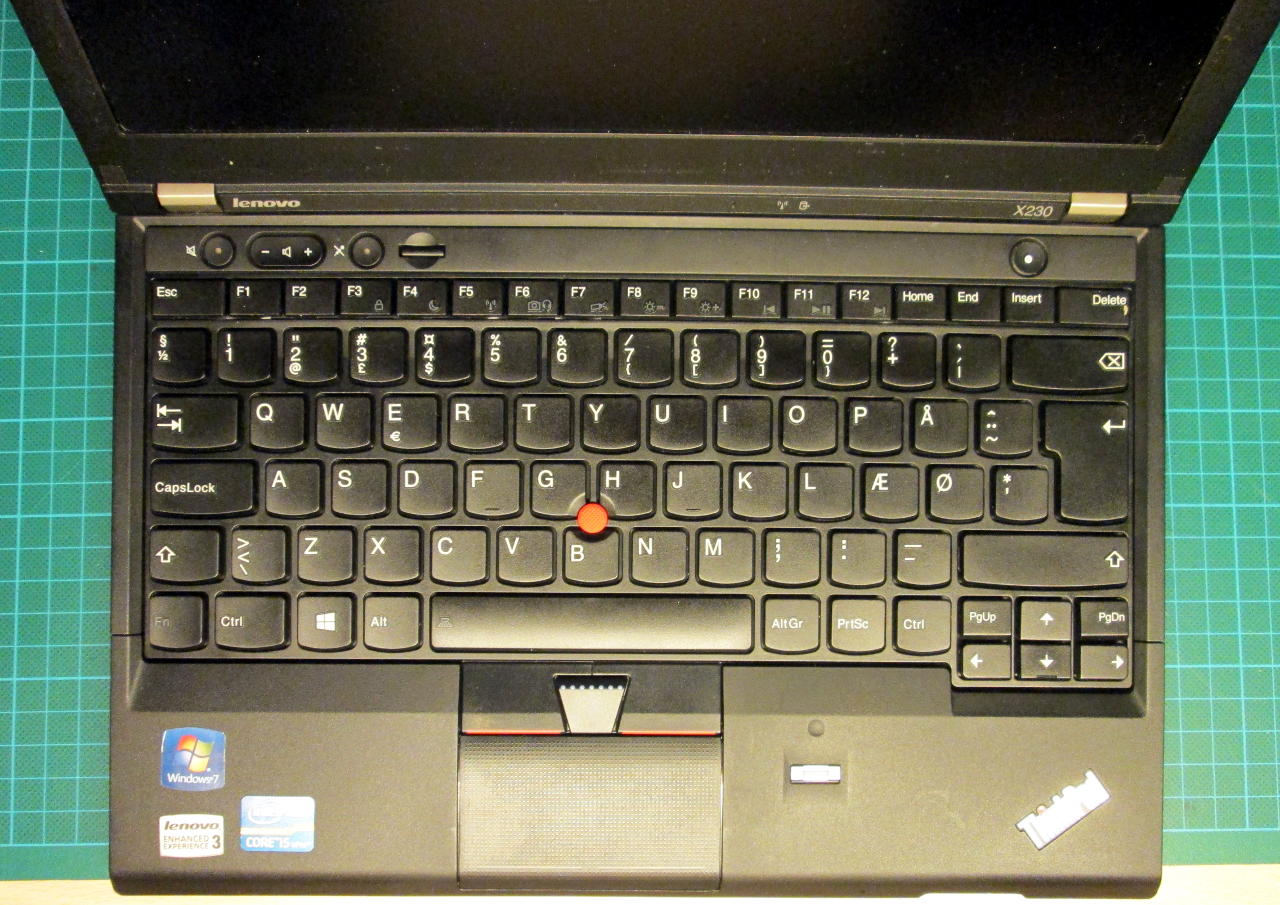
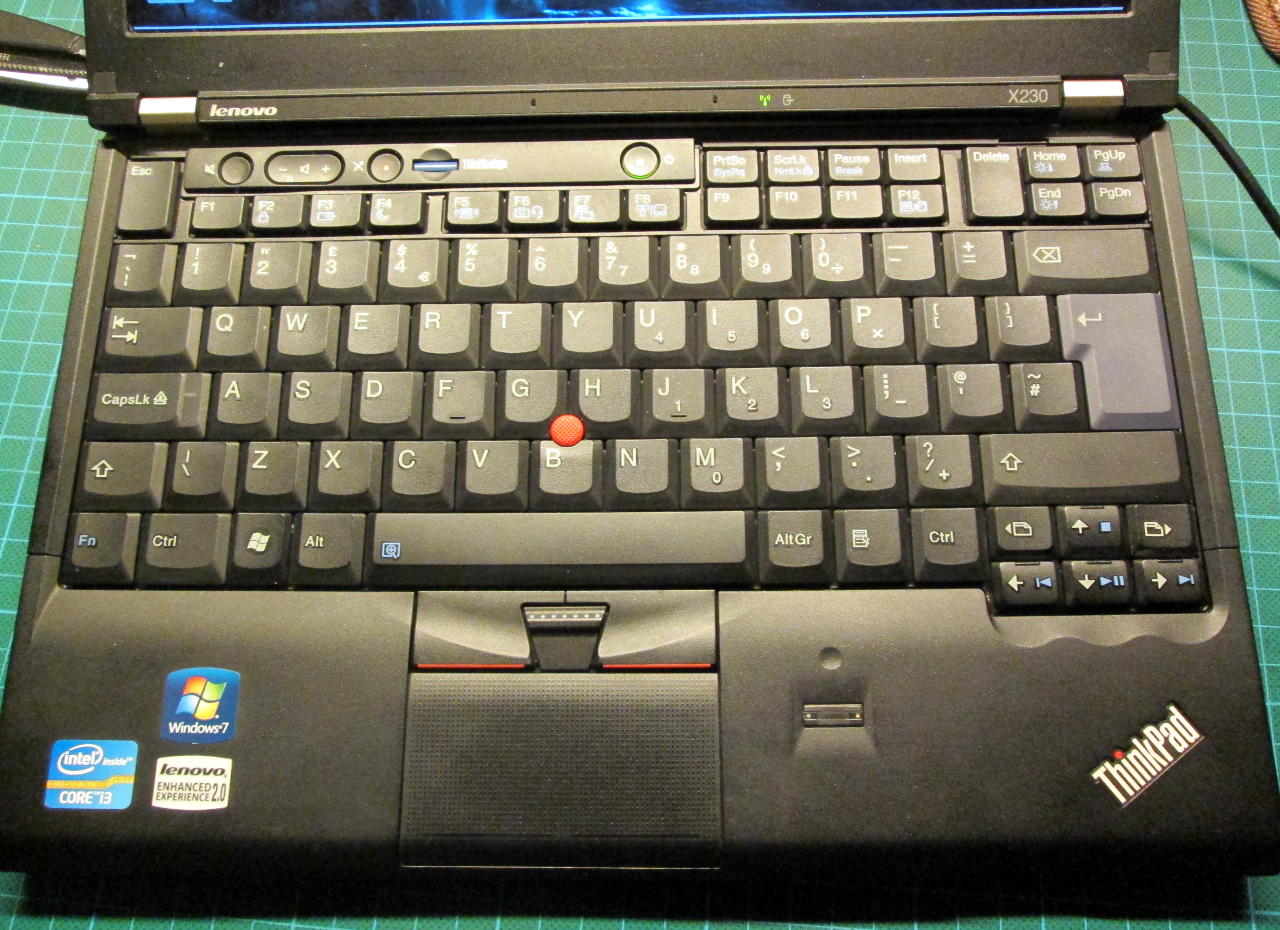
Lenovo ThinkPad X230 before modification
I started watching auctions for every new ThinkPad X230 and finally I found one with good condition at very reasonable price (~500zł/$150). New problem arose: new or even used keyboard from X220 cost ~$35, plus palmrest another $15, so ‘upgrade kit’ at price 1/3 of laptop value was a little too expensive. Another month of checking new auctions every morning eventually payed off: ~$30 for keyboard, palmrest and as bonus I’ve got good motherboard for X220, wifi card and Windows sticker 🙂
During all these months people doing this mod made huge progress, everything was documented (http://www.thinkwiki.org/wiki/Install_Classic_Keyboard_on_xx30_Series_ThinkPads) and EC firmware upgrade procedure was hacked, to there is no need for programmers – it’s easy now as casual bios upgrade.
The mod – hardware part
In ThinkWiki you could find 2 ways of making this mod:
- Modify keyboard and replace it with palmrest
- Modify keyboard and hack it physically to fit with original palmrest
I chose first option because is reversible. In second option you need to cut/file and bend some parts of keyboard.
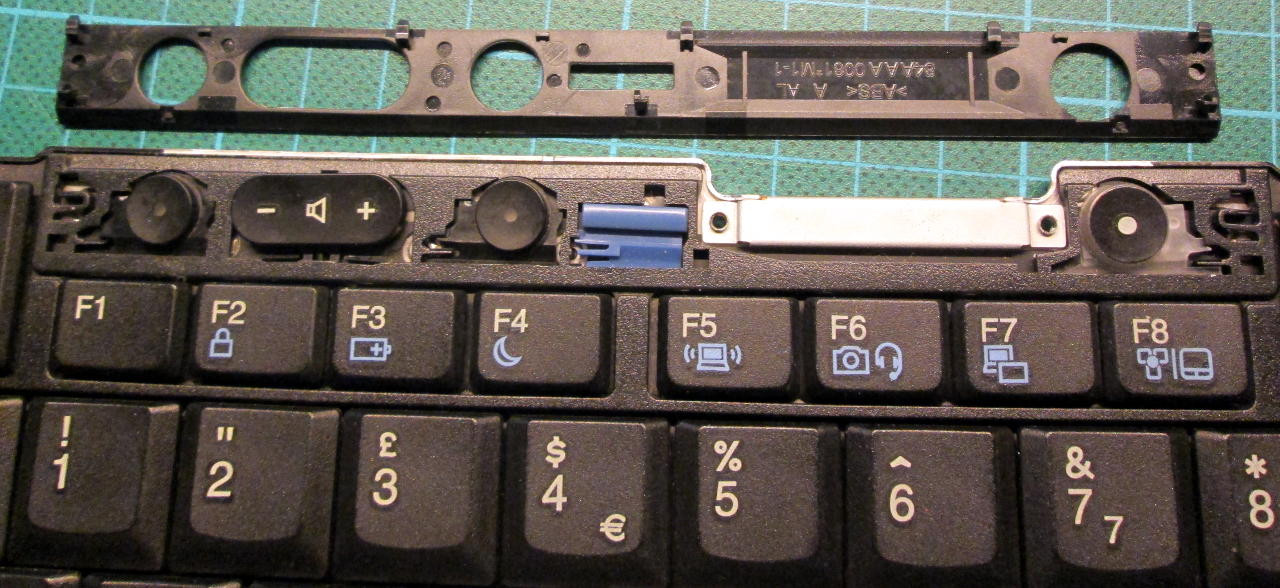
Ok, keyboard to modify:
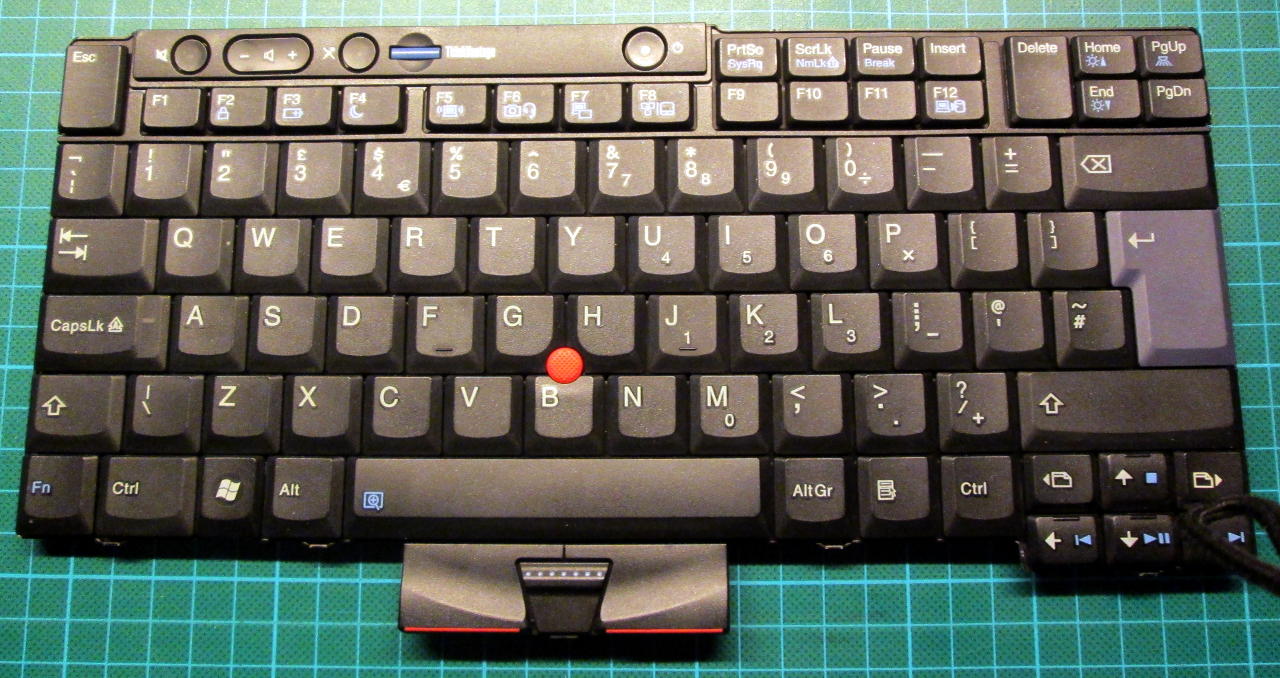
Keyboard from X220
First, I needed to isolate 3 contacts on connector inside keyboard, because it would make a short circuit in X230.
At the beginning it’s good to remove plastic panel on top of power and volume buttons. It’s best to apply little force toward center of keyboard and pry from outside to lift it.
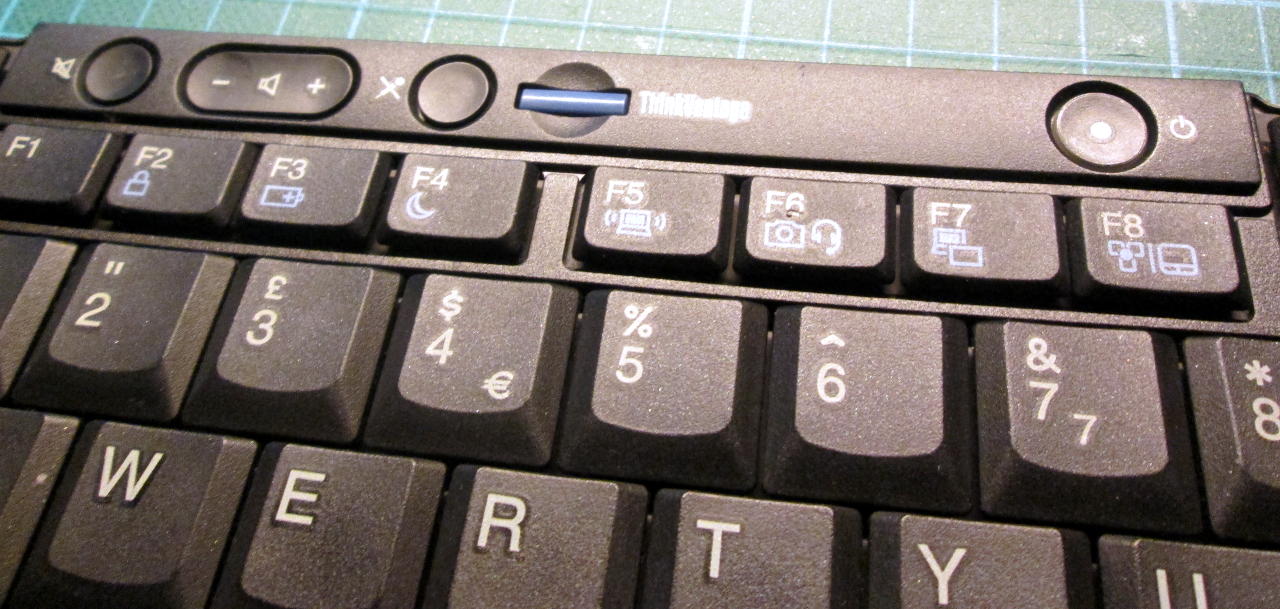
Plastic panel to remove
Panel removed
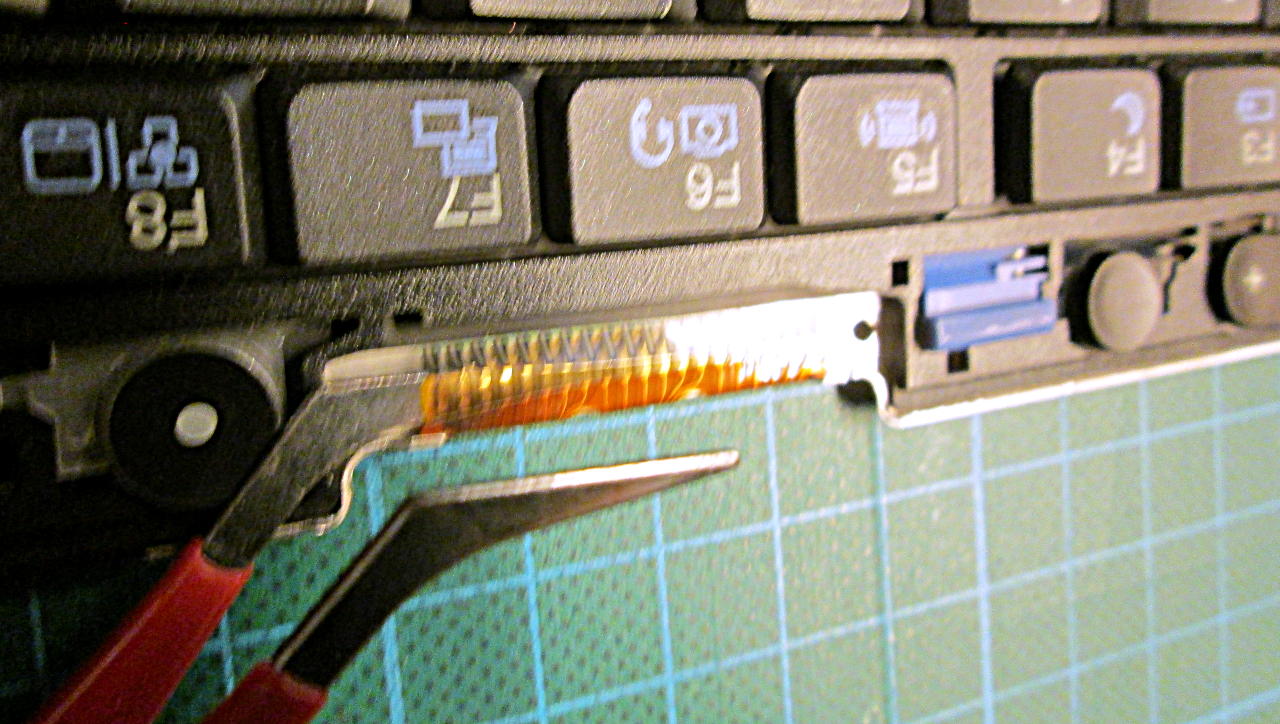
Then unscrew two screws holding elastic pcb on the back of keyboard:
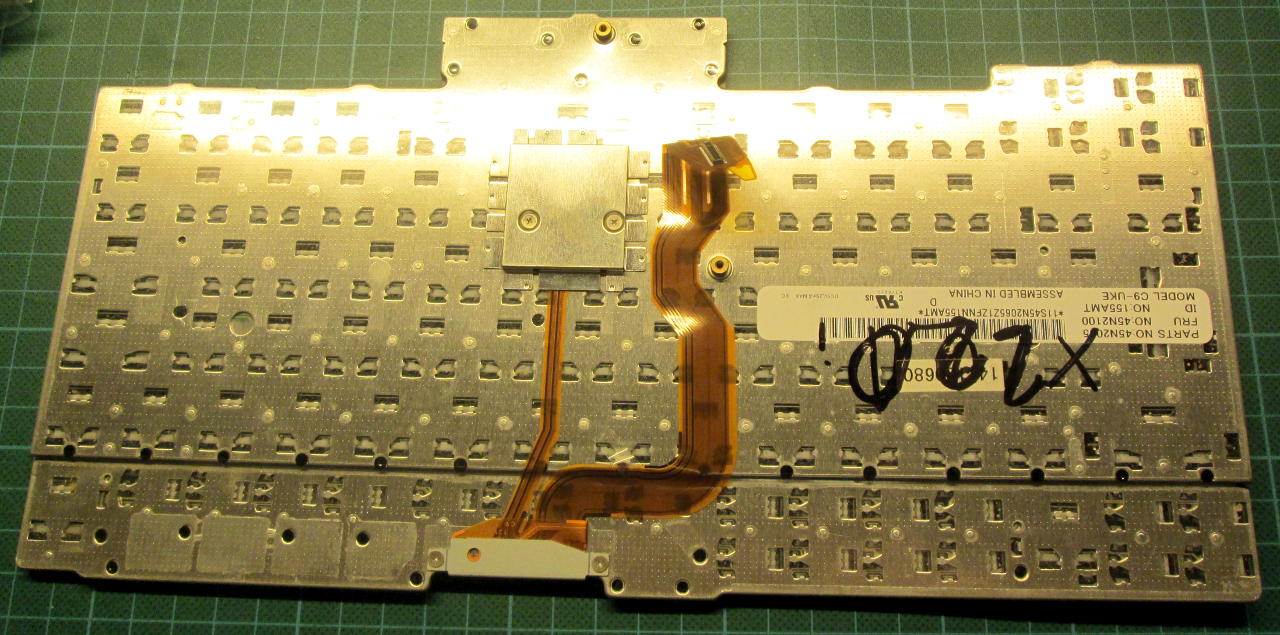
Back of X220 keyboard

Bar holding flexible pcb from the bottom
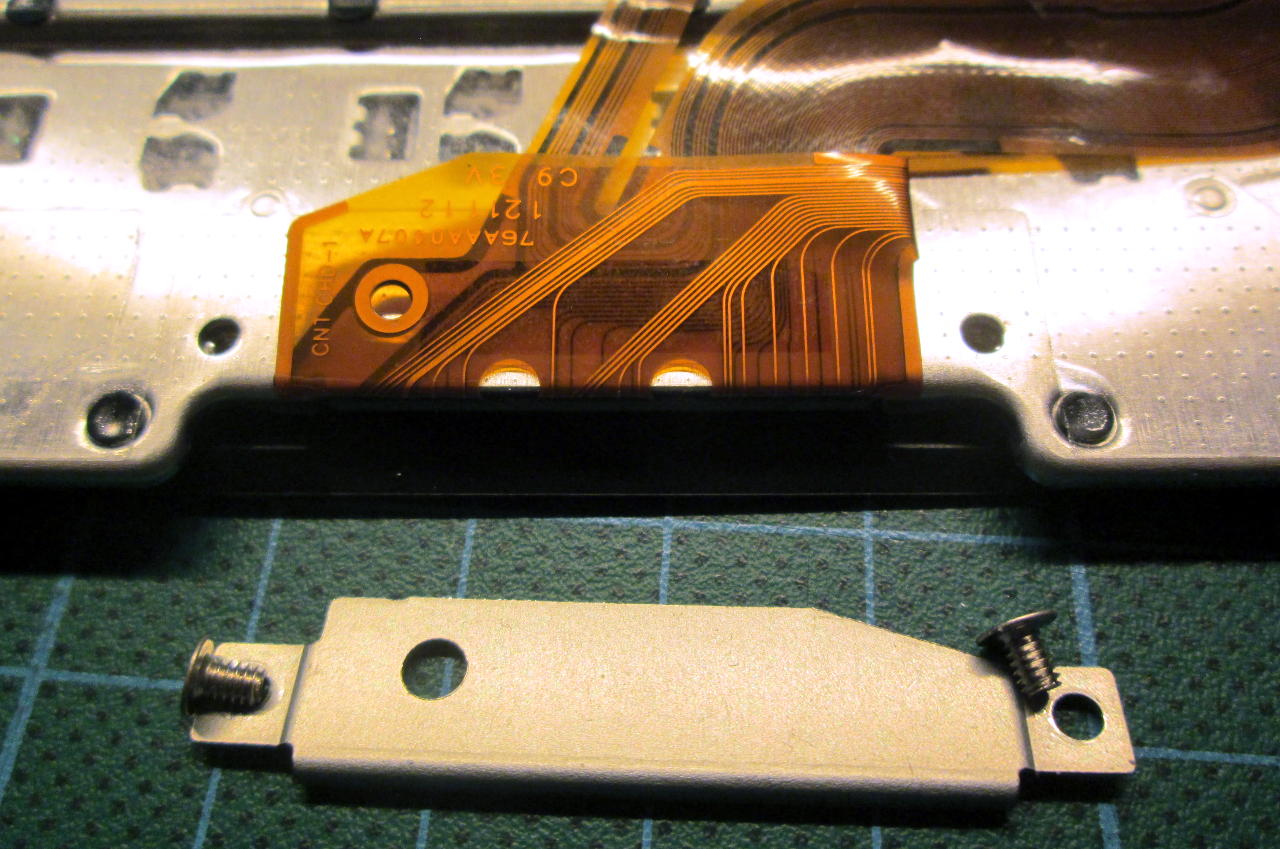
Bar removed
Then go back to front of keyboard and remove bar on the other side:
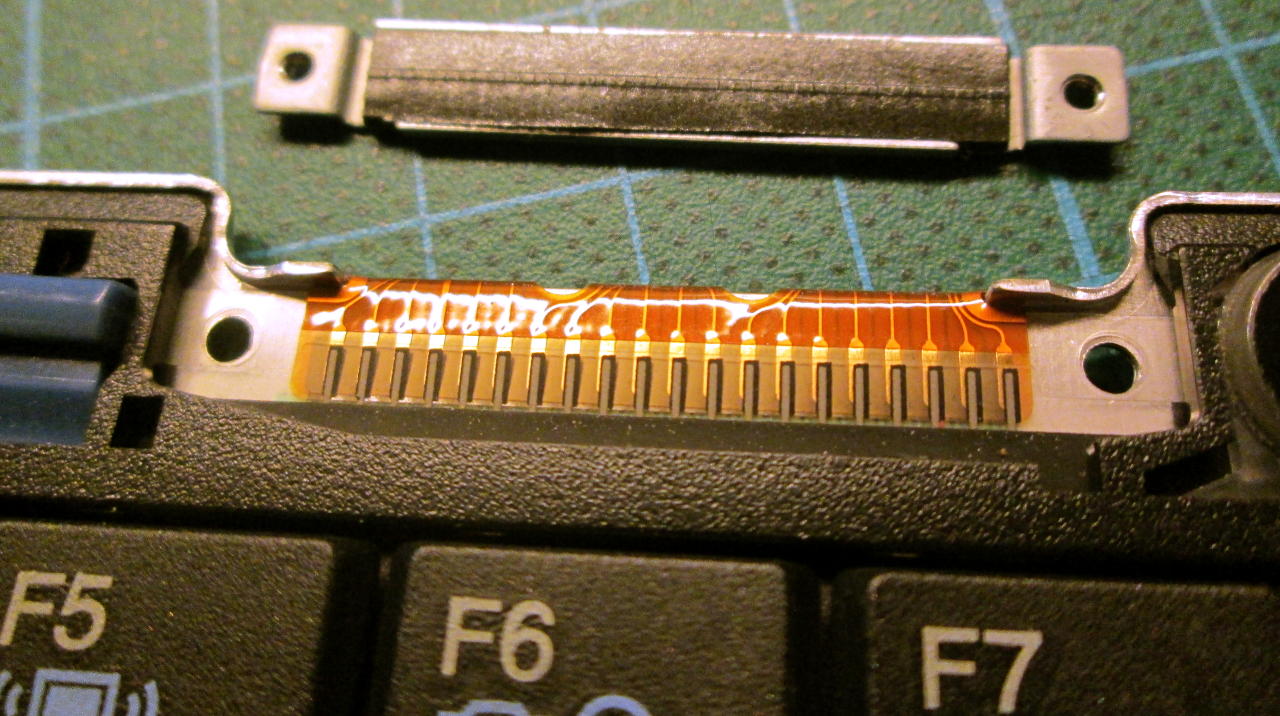
Upper bar also removed
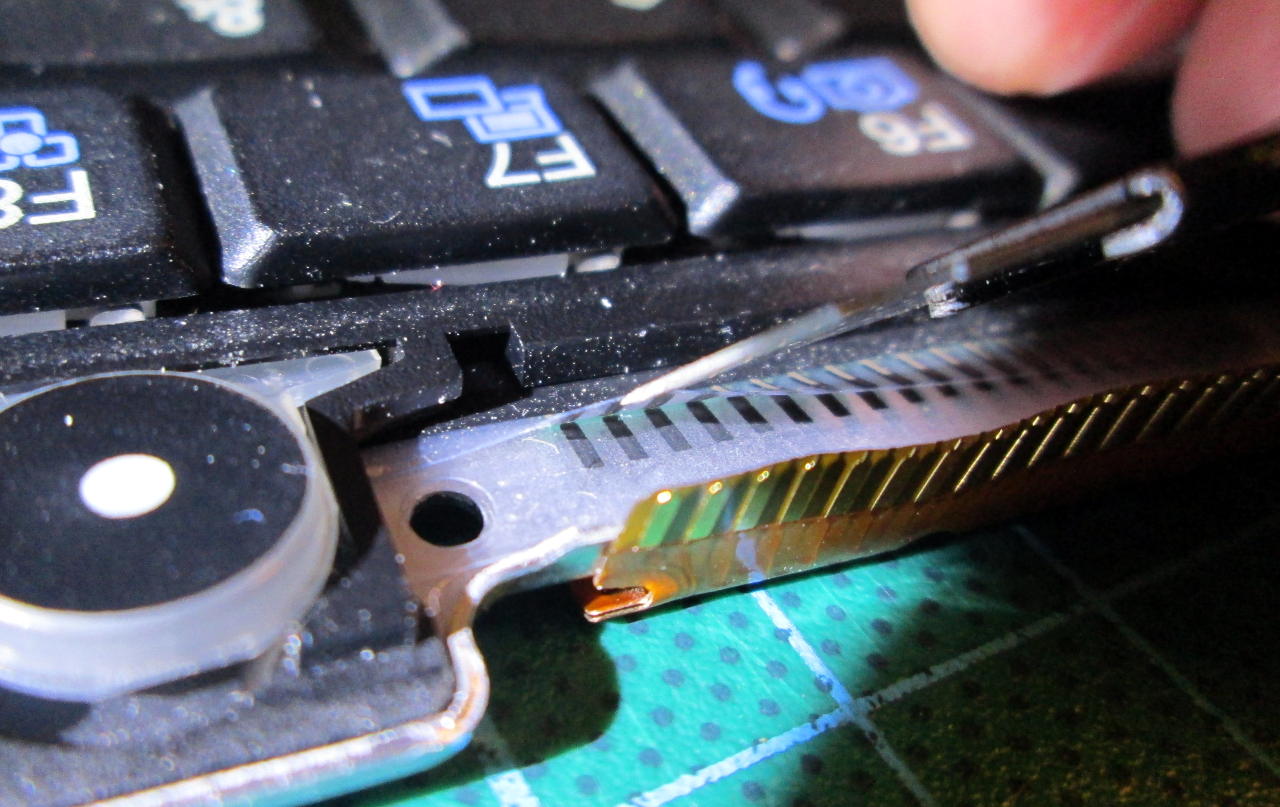
Then remove elastic pcb from connector. I used sharp knife to pry it a little, then flat and long tweezers to lift it more:
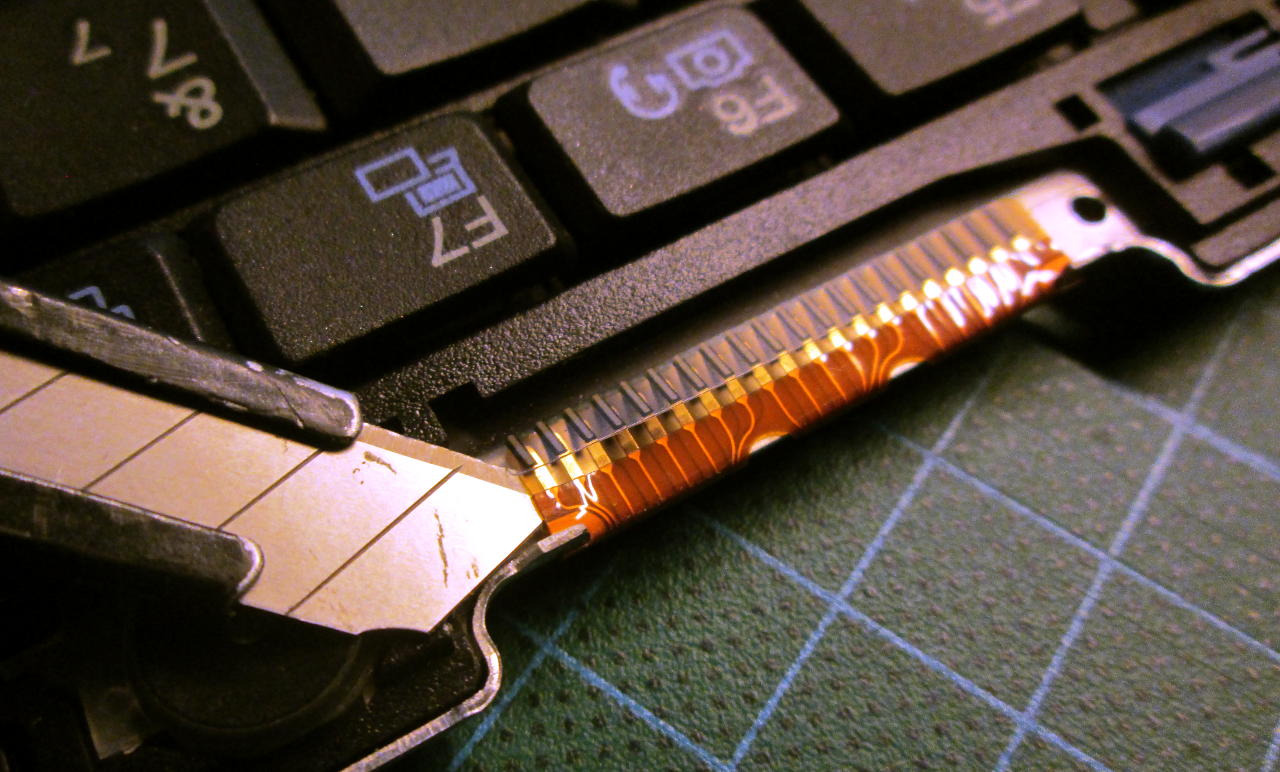
Prying a little connector
Separate connectors using tweezers
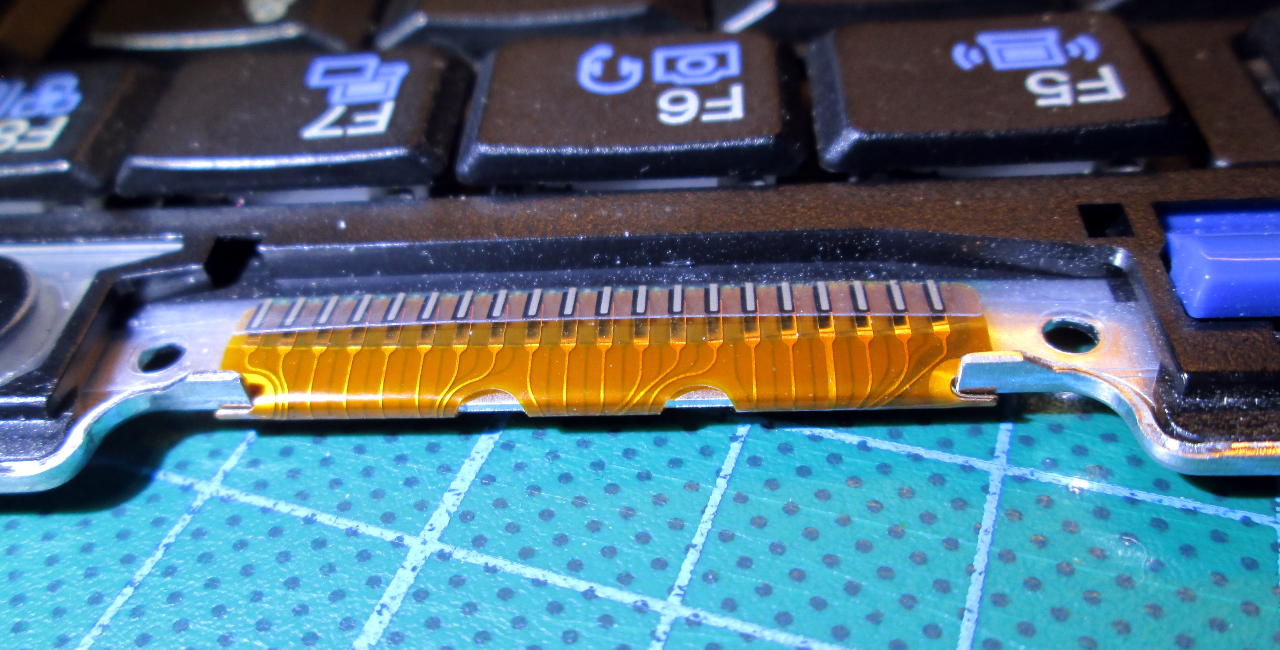
When connector is free, it’s time to isolate 3 pins as described on ThinkWiki. I used kapton tape to do it. I tried to make strip of tape only a little wider that all 3 contacts as I read that some people had sometimes problems after isolating pins using tape. This elastic pcb is pushed to contacts on second pcb and it should have some room to bend to get good contacts for pins directly near the kapton tape.
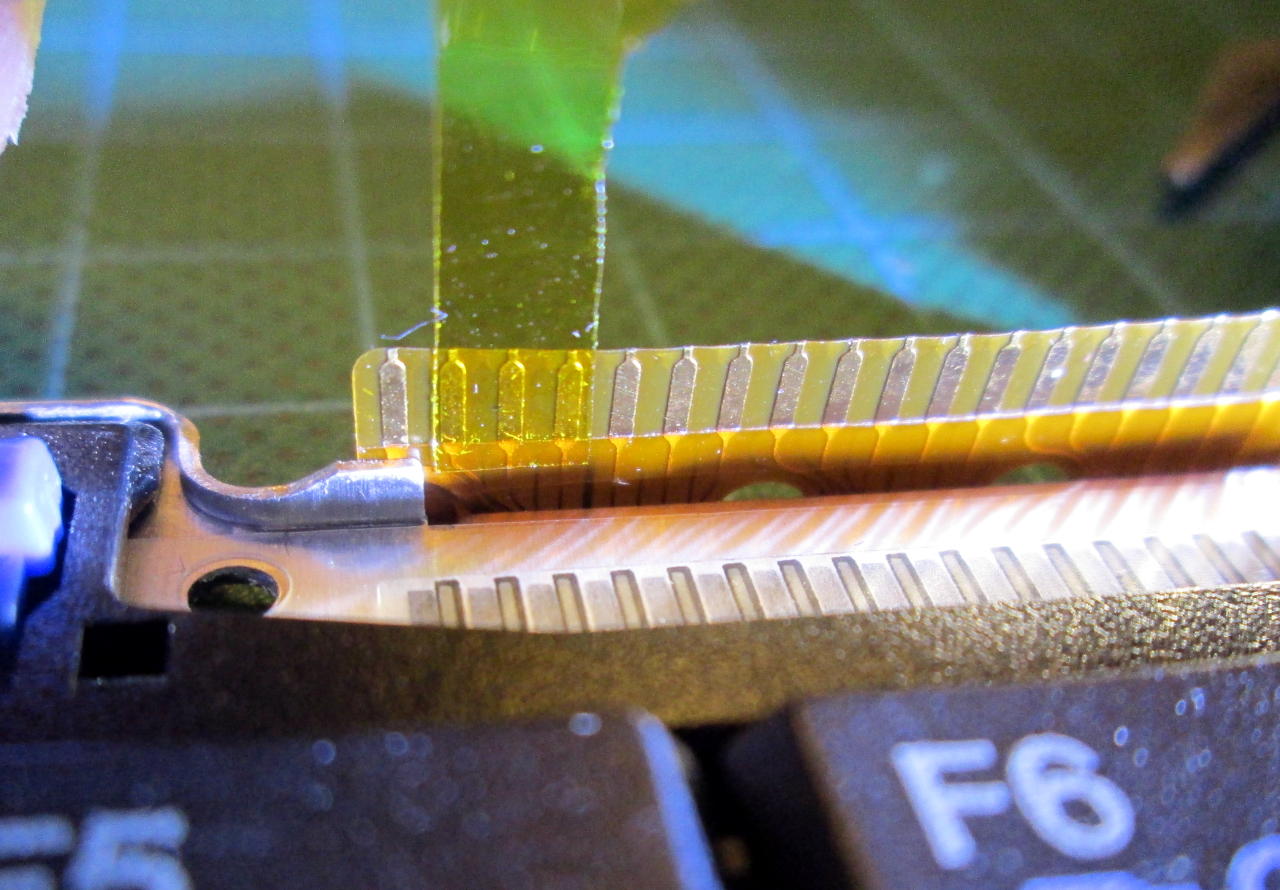
Isolate 3 pins using kapton tape
Pins isolated
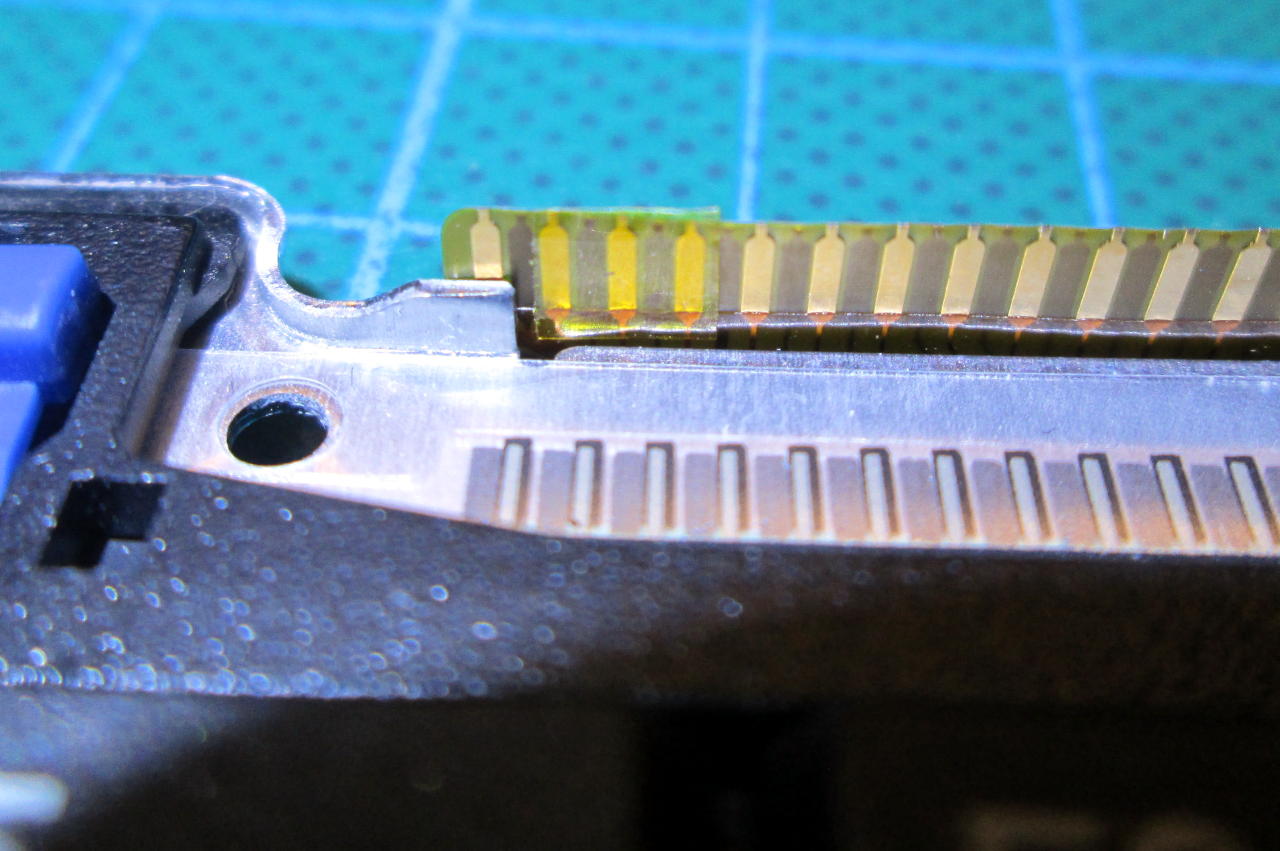
It’s time to put it back, once again I used knife to make some room:
Putting connector back
Connector in place
Now, put this part together and secure using screws, but didn’t put plastic cover yet because there is another small difference between X220 and X230:
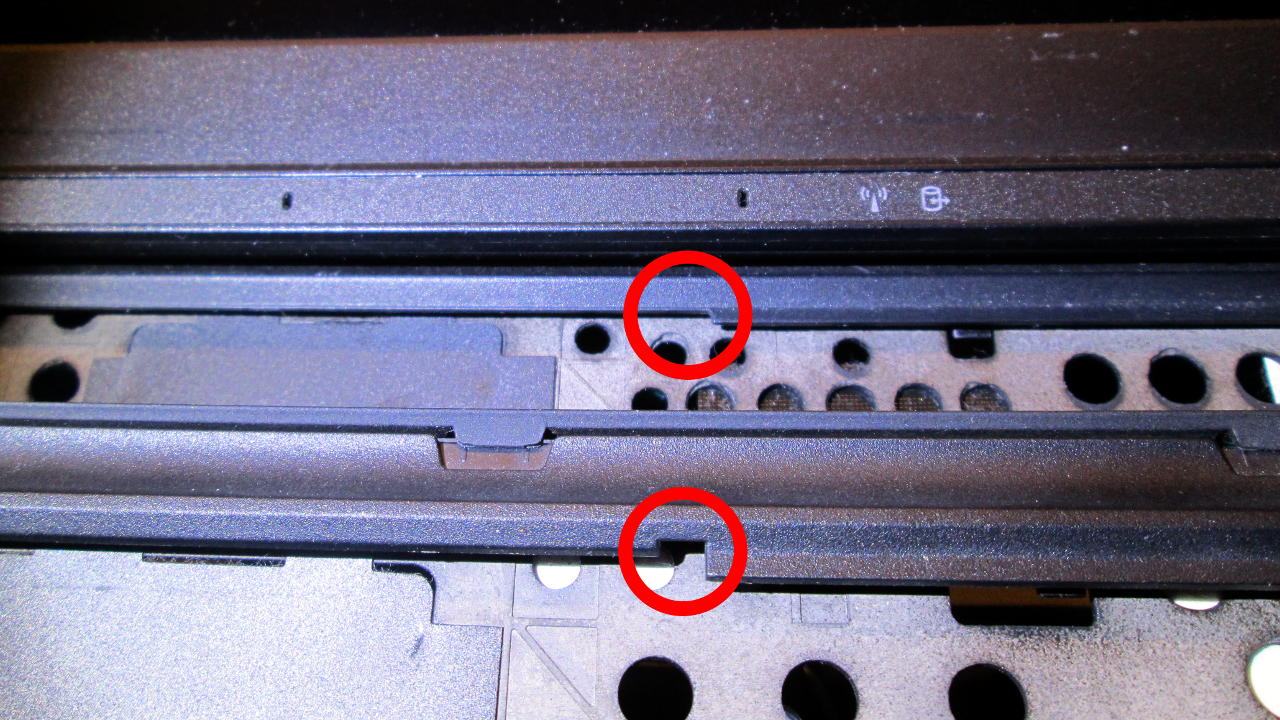
Keyboard bezel in X220 vs X230
X230 don’t have a notch in keyboard bezel, so there are 3 options: make the same notch on X230, replace whole bezel (it involves much disassebly, disconnecting antennas, lcd connectors etc) or remove something in keyboard which goes into this place. I think it’s better to modify keyboard once again:-)

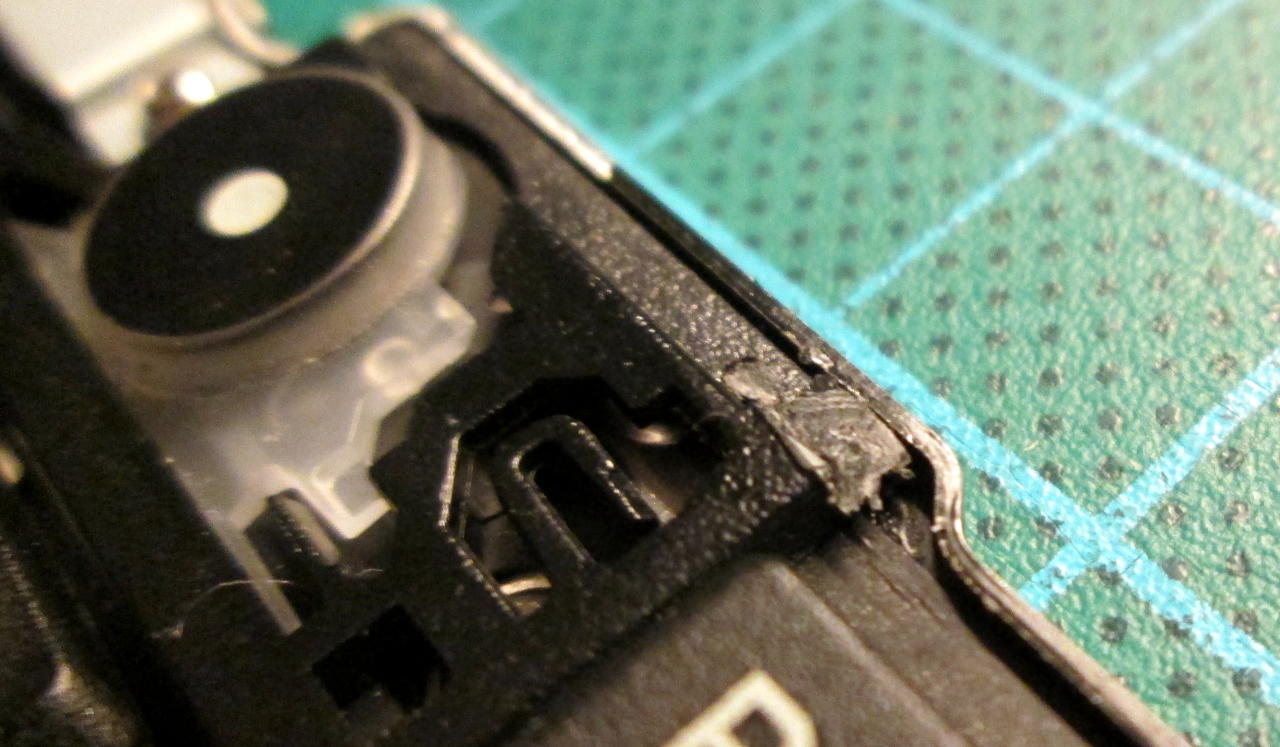
Nub to remove
At the beginning I thought that it would be easy to remove it using sharp knife, but plastic is hard and it took me more time than I expected. It’s definitely better to use Dremel-like tool to sand it down.

Adapting keyboard 🙂
X220 keyboard is now compatible mechanically with X230 bezel
Just put plastic cover back and keyboard is ready.
If you are owner of X220/X230 you should have somewhere “Hardware Maintenance Manual” with precise description which screws are needed to remove and how to replace keyboard and palmrest. I’ll skip this step and show what I’ve got:
The mod – software
Right now I have all hardware done, but not all keys are working as expected. Software of Embedded Controller (EC) should be modified to get all keys working. Thinkwiki describes this step in old and complicated way, but if you follow directly to https://github.com/hamishcoleman/thinkpad-ec, it would be very easy (if you are using Linux 🙂 ).
I found that thinpad-ec supported bios version 2.66, but my laptop had already 2.70 and downgrade would be problematic. Lucky for me, I found this issue and comment https://github.com/hamishcoleman/thinkpad-ec/issues/55#issuecomment-338087917 and I did search/replace as suggested. On Linux building was as easy as pie – script downloads by itself correct version of bios file, make necessary modifications and generate ready to use image. Then I put it on usb stick (image is only about 30MB, so even very old stick is good for it), booted, flashed, rebooted and everything works as in old good X220 🙂
Since this commit flashing 2.70 it’s even easier 🙂
Good luck with your modding 🙂
Changes, changes
majek.mamy.to -> majek.sh
I’m moving from Tonga island to Saint Helena 🙂
The thing is that I realized is that my domain ‘mamy.to‘ is quite valuable in Poland where I live (it translates to ‘we have it’), so I’m preparing to maybe sell it in some distant future. Old links should redirect to my new web site address as long as I own ‘mamy.to‘ domain.
Nevertheless, I also thought that my blog deserves separate domain.
Why ‘majek.sh‘? ‘.sh‘ is cool technical tld, one of today’s popular extensions as ‘.io‘, but it matches better my IT profile: servers, scripting (especially bash!) etc.
https

Yes, ‘majek.sh‘ also uses encryption now.
Writing to internal FLASH on Arduino
History
In LCD88 I use internal flash as storage for model definitions. Of course, these should be editable without reflashing all firmware:-)
On AVR chips writing to flash is only possible from bootloader section, so I needed such feature in my bootloader.
I adapted my old X-MODEM bootloader to provide some entry points to functions writing flash. But because of using X-MODEM as communication protocol, using it was quite difficult for ordinary people. Then, I came up with idea that bootloader compatible with Arduino could solve this accessibility issue.
Nowadays, all things that can be invented, are invented and done by some people, so I started to find ready-made bootloader with all needed features. Most promising was Optiboot, but it lacked possibility to use it for writing flash by application.
Time was passing by and I was very surprised that I can’t find ready-made solution. More surprising was that on Arduino forum writing to flash by application was perceived as ‘mission impossible’. Every topic about it ended by failure or with getting external memory for storage (flash, fram or simply SD card), or advice to write your own bootloader:-)
My conclusion after all this research was: I must write my own bootloader or contribute to some other project to add such functionality. Then I gave a first look at the code of Optiboot, it’s issues and I found issue #52 with one promising patch at the end. But this patch didn’t fit to my needs, as I need fill-erase-write sequence to not using RAM as buffer, and it doesn’t do that that way.
A year passed by and I returned to Optiboot. This time I was going to do it by mysef. It was time of learning C, hacks used in avr-gcc, bugs in different verions of avr-gcc, learning Github flows, branching, merging, even writing in Arduino as I needed to provide some working example of using this feature. But finally I made it! 🙂
Writing to flash
Optiboot with possibility to write to flash by applications could be downloaded from my ‘supermaster’ branch (also with some fixes not available yet in upstream): https://github.com/majekw/optiboot/tree/supermaster. It includes also example Arduino sketch (flash_program, heavily commented) writing to flash using new Optiboot.
So, feel free to use this long waited feature in Arduino world, and spread new, now better Optiboot bootloader.